
Color in weaving can be hard to design and predict. Weaving software can be expensive (and inaccurate), it’s hard to match colors in sketches, and woven samples are time-consuming and expensive to set up.
So often, I turn to a free tool for simulating color that is both quick and easy: the card wrap.
What’s a card wrap?
Card wraps consist of wrapping your yarns around a white piece of heavy cardstock to the width of the stripes in your warp (or weft) design. (If you don’t have heavy cardstock on hand, a sheet of ordinary printer paper folded on itself 2-3 times and taped shut works as well, too.)
You can find instructions for making a card wrap at the bottom of this post.
The purpose of the card wrap is to see what the warp or weft colors and stripe proportions will look like in your actual, physical yarn. (It’s also valuable as a physical brainstorming tool, as an alternative to sketches and quick draft simulations.)
Why use card wraps?
The advantage of a card wrap is that they are much more accurate with colors than either draft simulations or sketches. If your design depends on subtle color differences, or you’re not certain the colors in your draft simulation are true to life, sampling with a card wrap enables you to see the colors clearly in either warp or weft.
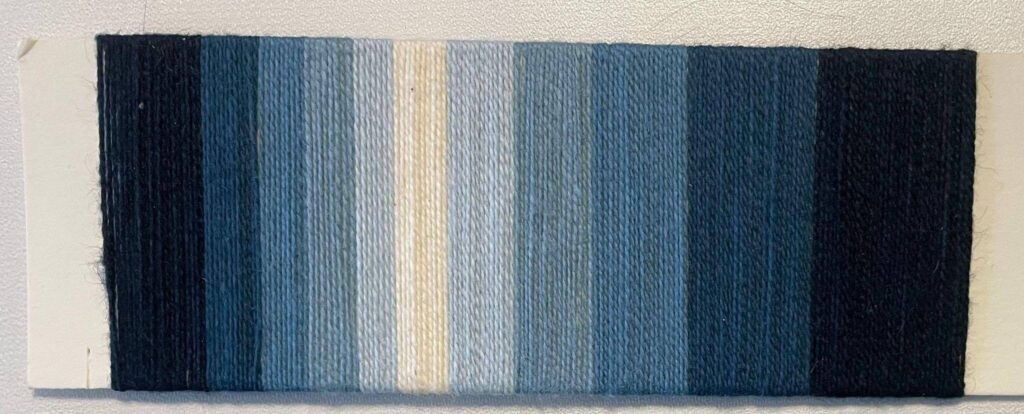
Here’s an example of a card wrap next to a computer simulation:
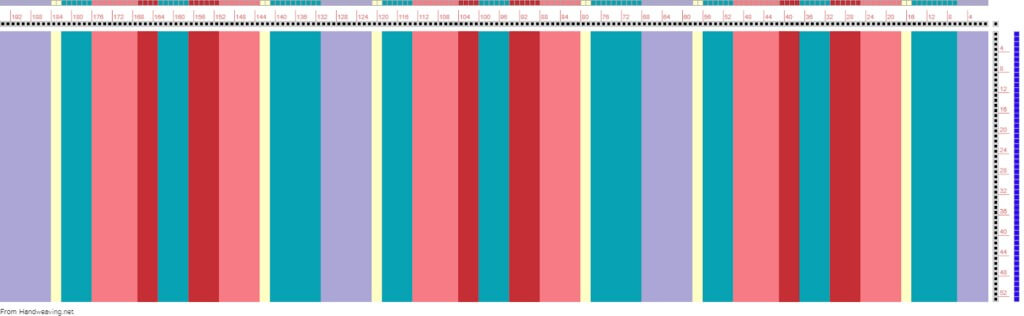
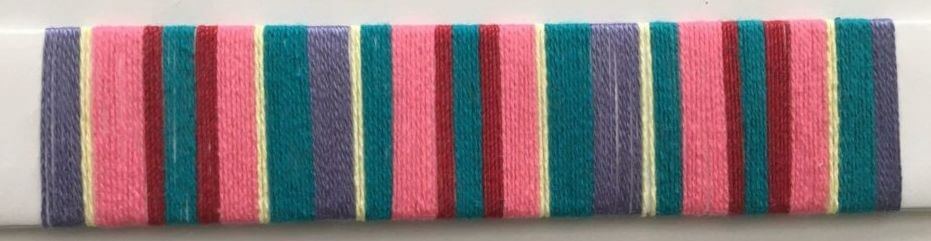
As you can see, while a simulation can be fairly accurate, a card wrap gives a better sense for the actual yarns.
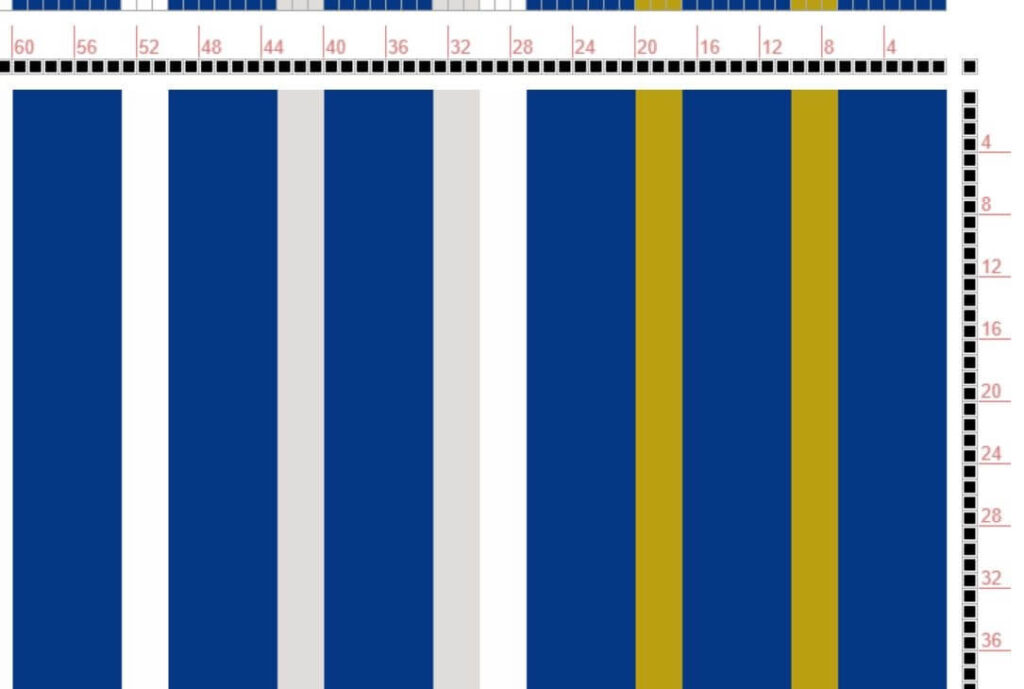
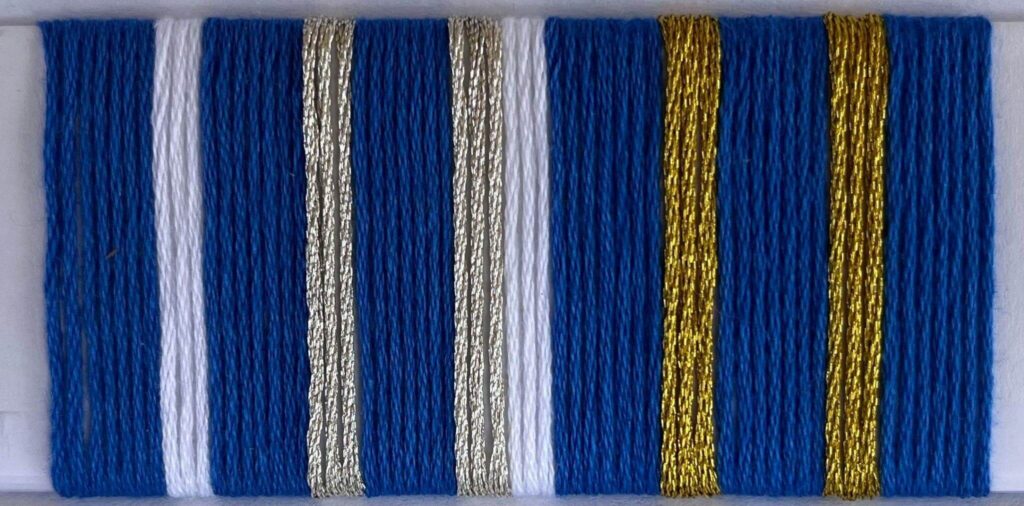
Card wraps are particularly useful when working with yarns that have characteristics that don’t show up well in computer simulations. For example, glittery yarns, thick-and-thin yarns, textured yarns, and fuzzy yarns all require a card wrap to get a true idea of the warp or weft patterning.
In this pair of card wraps, you can see that the metallic glitter doesn’t show in the electronic version of the wrap – so the card wrap looks quite different. So will the finished design.
Card wraps are also flat. Yarns wound on a cone or spool reflect light differently than yarns placed side by side in a warp. On a cone or spool, the part of the cone closest to the light typically appears brighter, while the part furthest from the light looks darker because it gets less illumination. This can be deceptive, both when selecting colors and when simulating warps using side-by-side cones.
The photos below show cones of yarn lying on their sides, and the same colors wound flat onto a card. Notice the variations in color of the cones due to the effects of the light, and the more true-to-life colors in the card wrap!

As a result, a card wrap will give you a better idea of what the warp will look like than simply placing cones of yarn side by side. It also allows you to select colors in weaving software more accurately, because you don’t have to guess which part of the cone is the “true” color.
Limitations of card wraps
Card wraps show you the yarns you’re using in real life, and enable you to test the proportions of stripes in warp or weft. However, they don’t let you see what the cloth will look like once woven. The draft and the weft color(s) have a profound impact on what the finished piece looks like, and card wraps don’t capture that.
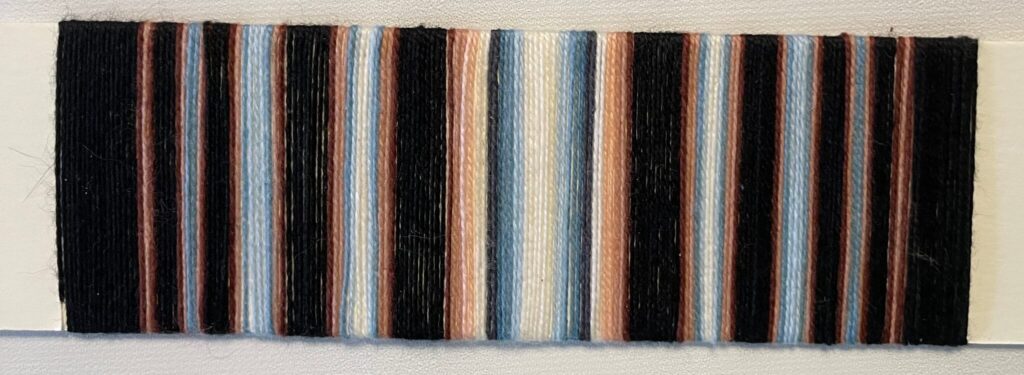
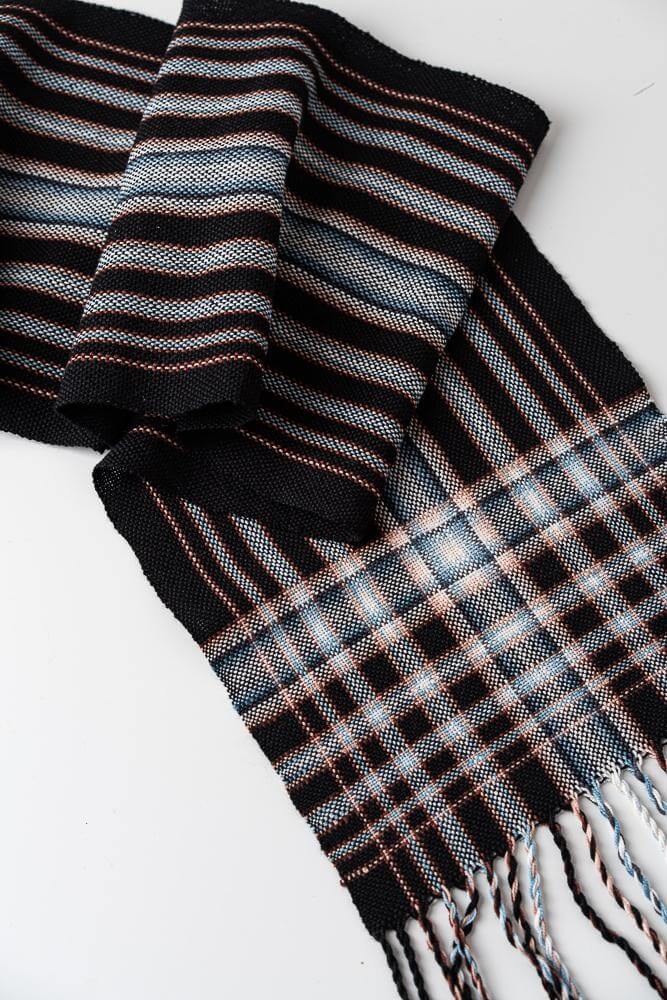
In this card wrap and scarf, you can see that the wrap has captured the general feel of the warp stripes, but the finished scarf is not the same, due to the weft-wise stripes and the weft color.
In general, card wraps are most valuable with designs that are heavily warp or weft dominant, and/or have simple woven pattern (e.g. plain weave or straight twill). As the woven pattern becomes more complex, it becomes harder and harder to get an accurate idea of the finished piece using a card wrap.
Despite their limitations, card wraps are very useful tools for testing color.
How to make a card wrap
Step One: Make the card
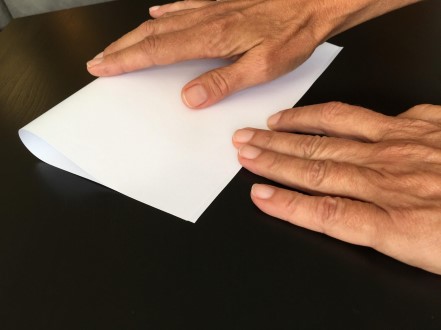
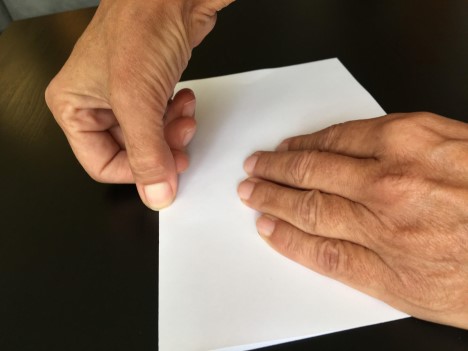
- Fold a sheet of 8.5×11 or A4 copy paper in half parallel to the short side. After this fold, it will measure 5.5” x 8.5”.
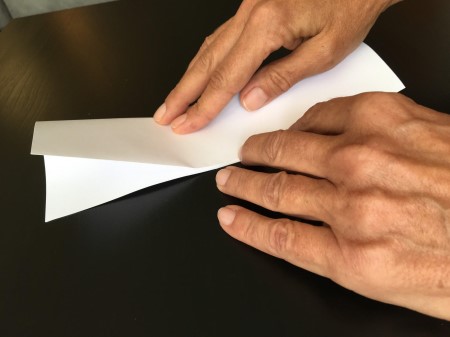
2. Crease it well!
3. Fold it in half again.
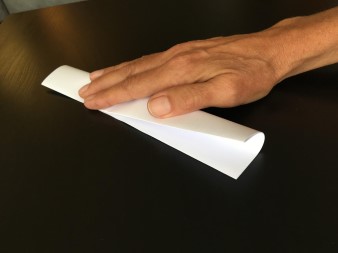
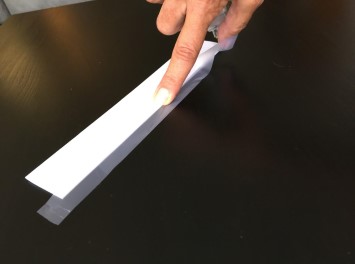
4. Then fold it in half again to make a long, stiff rectangle of paper that should measure 8.5” x 1.375”. You have now folded the paper into eighths. Fold as precisely as possible, as keeping the sides parallel makes wrapping the card easier. Tape the package shut.
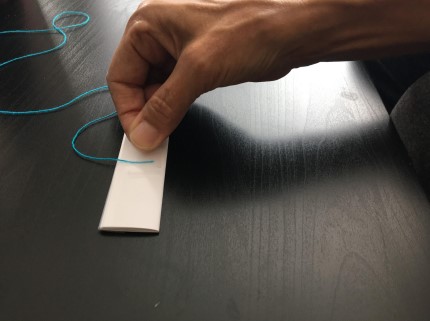
Step Two: Wrap the card.
Wrap yarns around the “card” in the stripe pattern of your draft.
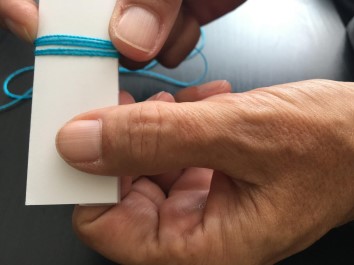
It is quickest to wrap four or five turns around the card at once, then slide them down the card until they sit together. The yarns should touch each other with no white from the card showing, but there’s no need to cram them tightly together.
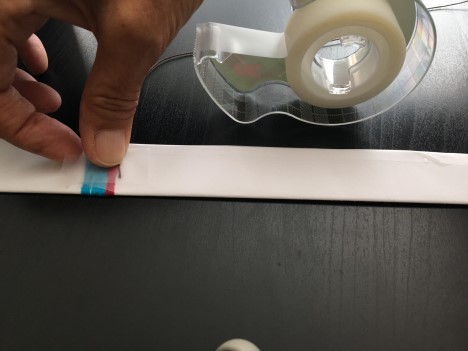
Tape the yarns down on the back to keep them wrapped.
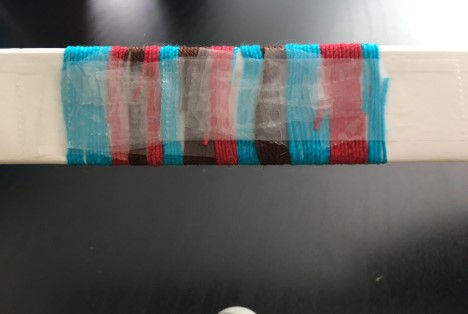
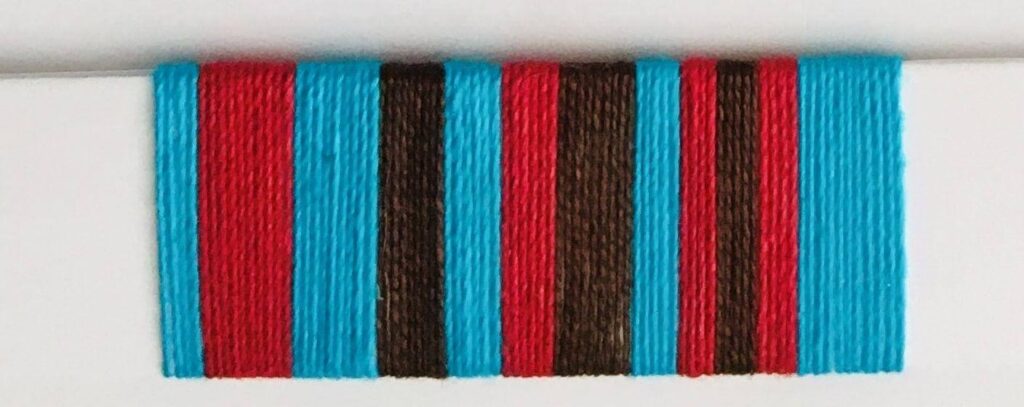
The finished card wrap.
I hope you add this valuable tool to your designing toolbox, I know that I use it often!

Members can learn more about card wraps and sampling techniques in our class:
Sampling: A New Approach – More than making swatches of cloth, learn many techniques for sampling that are suitable for all weavers.