
For this week’s blog, one of our members, Beth, shares how she used the lessons in the Academy to design and weave a final project destined for a small art gallery.
I am a maker at heart. When the Color Gamp Course was released, I went to work trying to figure out what I could make using a gamp besides just a sample.
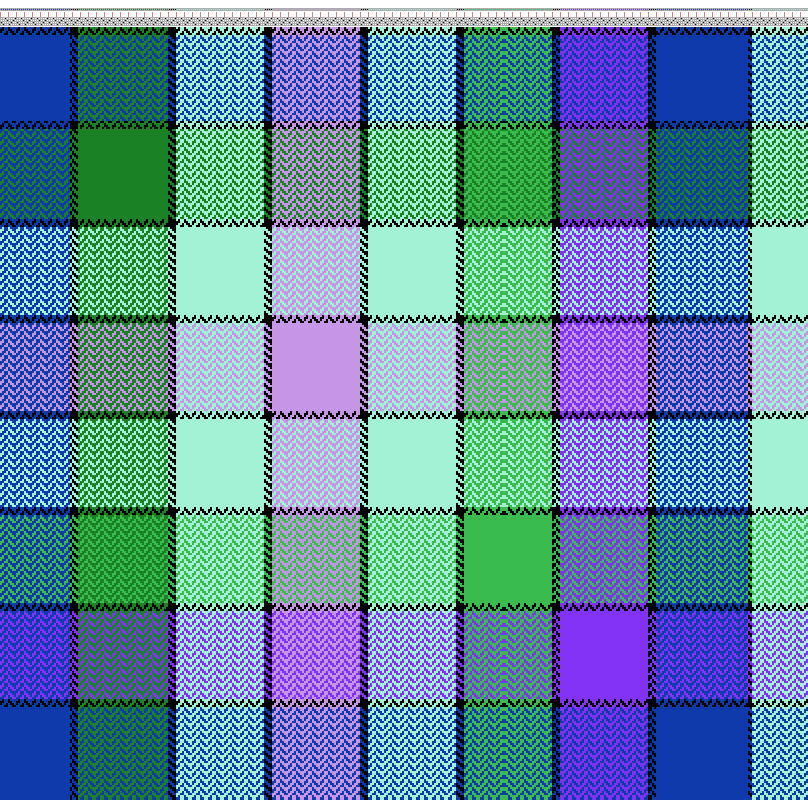
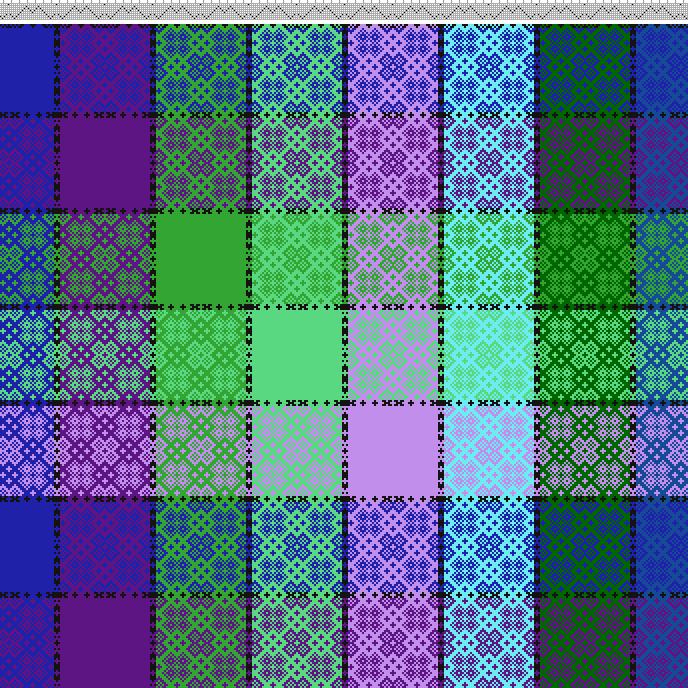
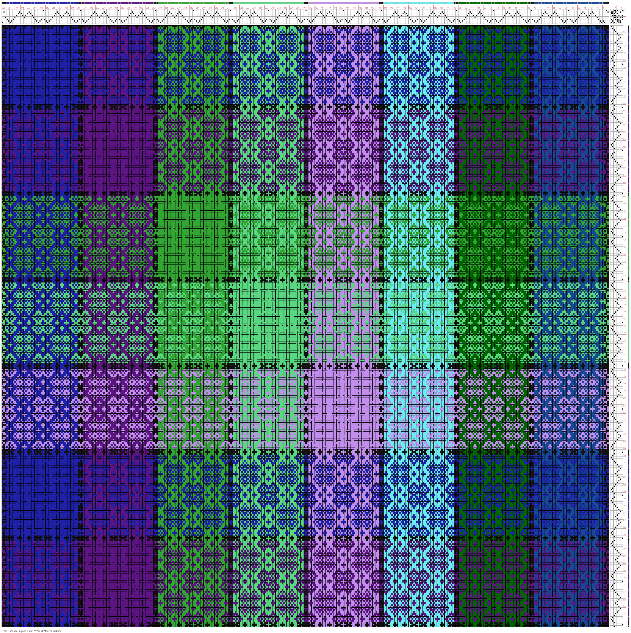
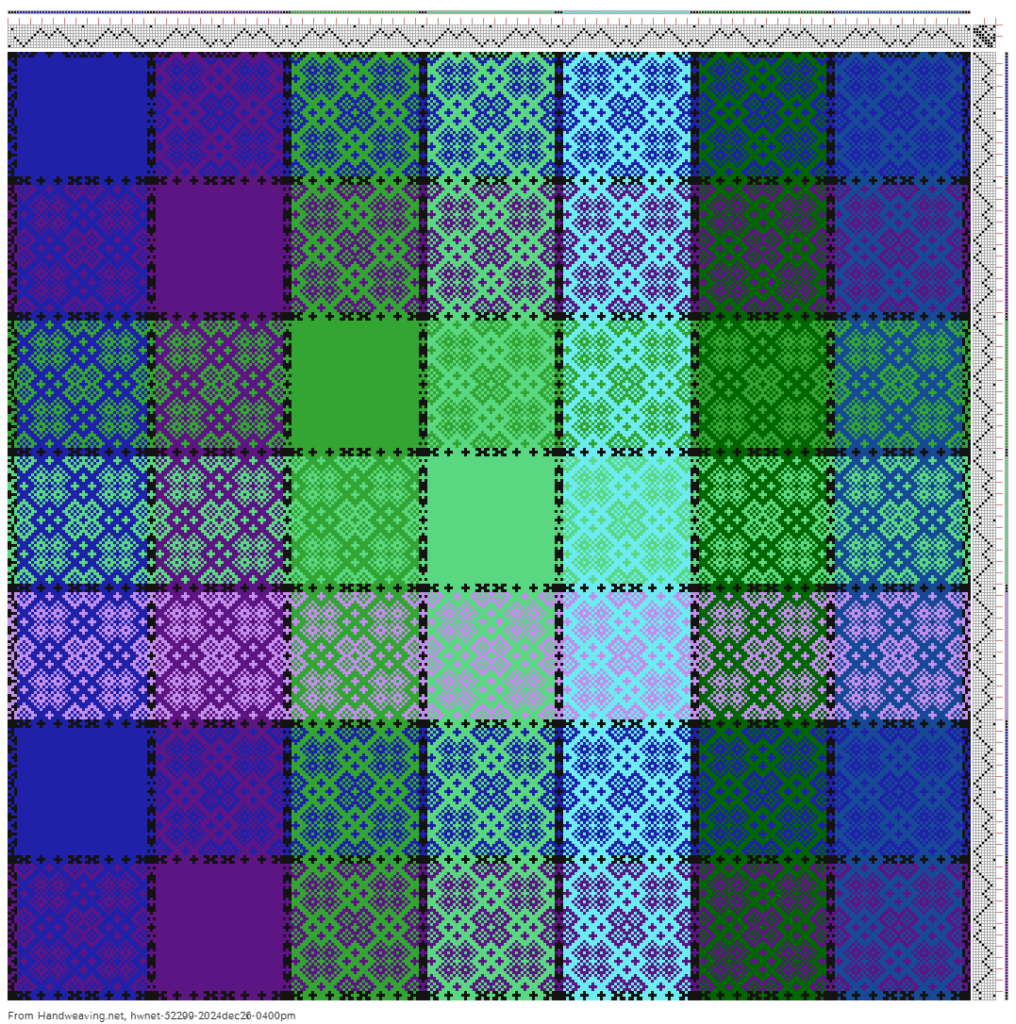
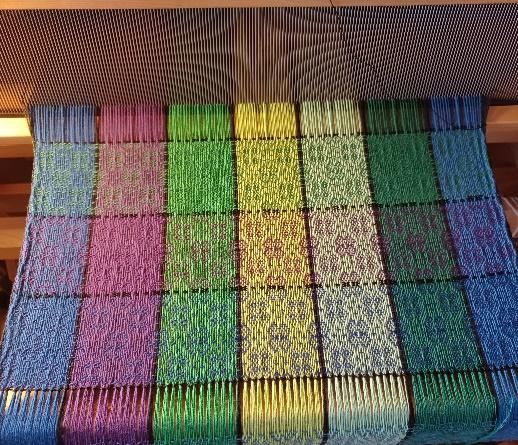
I like how most of the Academy courses start with a draft or recipe to begin with. Here are some of the first color gamps I designed:
I picked the colors from my stash (Working with Stash Yarns) using the yarn I had leftover from a previous WAL (Angles and Unduls Weave-Along). I use this 8/4 cotton often to make baby blankets and throws, so I know it is a very strong yarn. Pillows came to mind, and now I had a finished project to plan for.
First I needed to calculate how many ends to make my warp, how long it needed to be, and then determine if I had enough yarn in my stash.
I used Academy courses, The Ashenhurst Calculator to Determine Sett and Crunching the Numbers to find these calculations. Ultimately, I had 8 cones in my stash that had enough yarn, plus other yarns I wanted to use.
I measured out about a 7-yard warp using my warping board. My beaming method has changed since I watched the Live at the Loom videos with Janet, and my warp seems to have fewer tension issues now that I have switched my raddle to the front.
The class Sampling: A New Approach helped me determine that using the same 8/4 cotton as the weft would not work as well for this project; it would not pack down close enough, and the floats were too long. Changing to 8/2 cotton weft made all the difference. Once I wet finished the sample, I learned I had a pretty sturdy cloth.
I like to make my pillows with a sewn-in flap, the precise length doesn’t matter as much as a pillow with a zipper, so I ended up weaving them all different lengths. I also used different weft colors and fibers for each pillow, including alpaca and hand-painted merino.
When I finished weaving, I cut off the warp, secured the ends, and put the whole lot into the washer (gently) & then in the dryer. The all-cotton pillow shrunk about an inch in all directions, but the alpaca/merino weft felted about 2 inches in width/length. So, I purchased two different pillow inserts of different sizes.
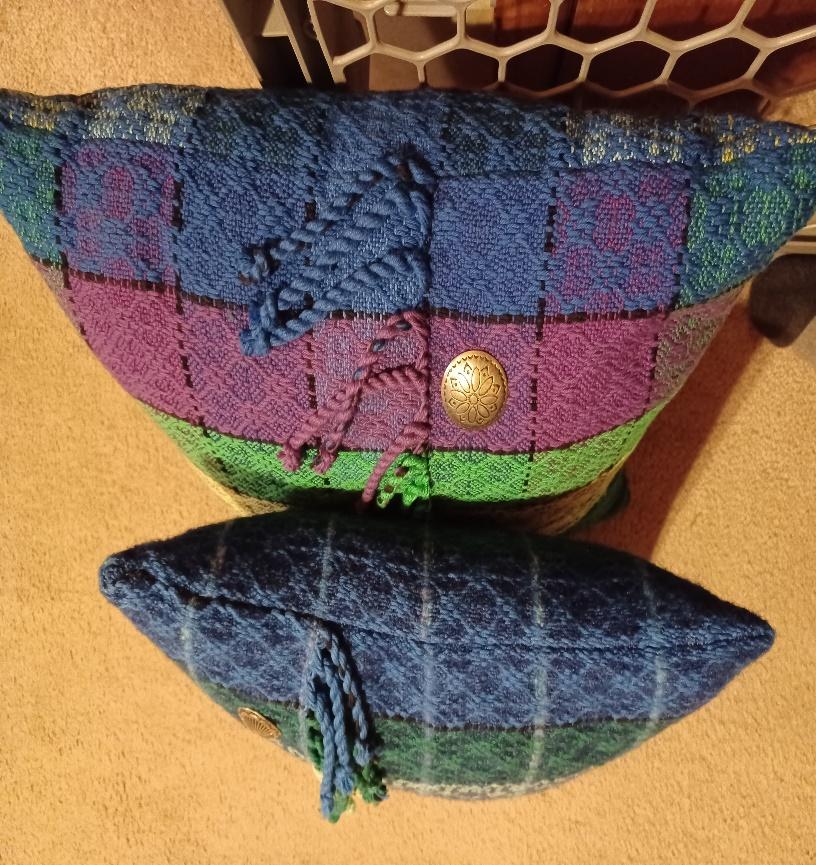
I prefer to twist the fringe before I sew my pillows together (less yarn to get in the way). The pillows were sewn together like an envelope with squares matched on the sides to give them a more cohesive look. After sewing and stuffing with the pillow inserts, I finally sewed on the buttons.
Then, they were ready to display at my local gallery with my other projects.
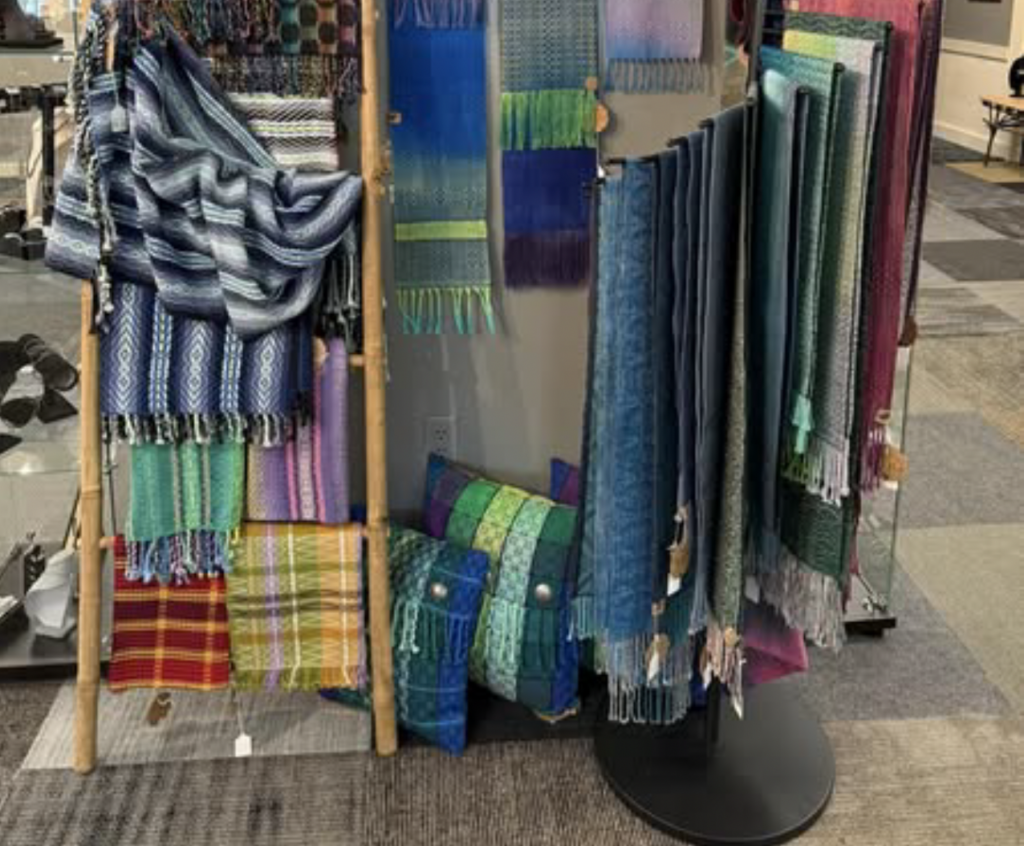
And that’s how to weave pillows from a color gamp project! Thank you, Beth, for sharing your process. It’s great example of how how the courses work together into a final design.
From the Course Catalog:
Working with stash yarns – Learn to handle the challenges of stash yarns and design with confidence.
Color Gamps – explore color mixing with different yarns, drafts, and colors.