I could easily teach an entire class just on winding a warp with weaving yarn. It seems like such a simple thing yet there are so many hints and tricks that make it far more efficient and enjoyable – and, more importantly, that make dressing your loom easier and more successful.
There’s also an art to deciding between various approaches to winding striped warps in particular. One is the folded warp trick, but there are other options. Which one is best depends on all kinds of things –whether back to front or front to back is better for a given combination of yarns, about how to decide which stripes to wind together and which to separate, about winding threads out of order by design, the option of winding placeholder and afterthought ends, and how to modify your approach if you’ve got a limited – and perhaps even unknown! – amount of weaving yarn on hand…
So yeah, I could go on AT LENGTH on the topic of winding warps, but not today! Today I’m going to share with you my number one piece of advice when it comes to winding almost any warp:
Wind more than one end at a time.

Why?
- It saves time. LOTS of time. Not just while winding, either!
- It reduces tangles while beaming.
- It builds error checking into threading.
The most obvious advantage to winding more than one end at a time is that it saves you a pile of time while winding the warp. This is just the tip of the iceberg, though, and not even the most important benefit!
Still, it’s a big one, so let’s look at it first:
It saves time and effort. LOTS of time and effort.
Winding multiple ends at a time reduces the time you spend winding by at least 50%. If you wind two at a time, you’ll make half as many circuits across your warping board or around your warping mill. Three at a time means 1/3 of the circuits and therefore 1/3 of the time. Four at a time requires just one quarter of the time and effort compared to winding each thread one by one. These savings are huge when you’re talking hundreds of threads!
A cross made up of multiple ends going each way is also faster and easier to count, and you’re less likely to be off by one or two ends.
The time savings don’t stop there. If you dress your loom like I do, winding multiple ends together doesn’t just speed up winding the warp, it also speeds up rough sleying because it’s much easier to see the “crosses” when there are multiple threads traveling together as opposed to a thread-by-thread cross. And then it speeds up beaming because it creates fewer tangles. And THEN it speeds up threading because it builds in error checking.
Everything is faster when you wind more than one end at a time.
It reduces tangles
Tangles while beaming are a problem for a few reasons:
- Tangles are frustrating and slow you down.
- Tangled threads may break outright.
- Even if they don’t break, tangles can pull hard on the threads involved and change the tension under which they’re beamed, creating issues while weaving.
- Tangles pull even more slack into already slack threads, which means they’ll just tangle again and again as you go.
Clearly tangles are bad, but how does winding more than one end at a time reduce them?
When you beam your warp, threads that are held tightly under tension really only have one choice about where to go: straight to where you direct them. Threads not held under tight tension, however, may decide to go their own way. This can happen because you’re not putting enough tension on the entire warp but it can also happen if some of the threads were wound with more tension than others and are therefore slightly shorter than others. When you put tension on those shorter threads, the longer ones will still have a little play left in them. (It can also happen if some of your threads are stretchier than others; in that case, the ones with more stretch have more play.) “Play” may sound cute, but “play” while beaming is a tangle just waiting to happen.
When you put a pair of lease sticks through a cross and then beam your warp, each intersection in the cross – that is, each point at which one thread goes one way through the lease sticks next to another thread going the other way – is a potential source of friction. If one of those threads has any slack in it, it will consider sticking to the thread it’s rubbing against and traveling with that thread rather than following its own intended path.
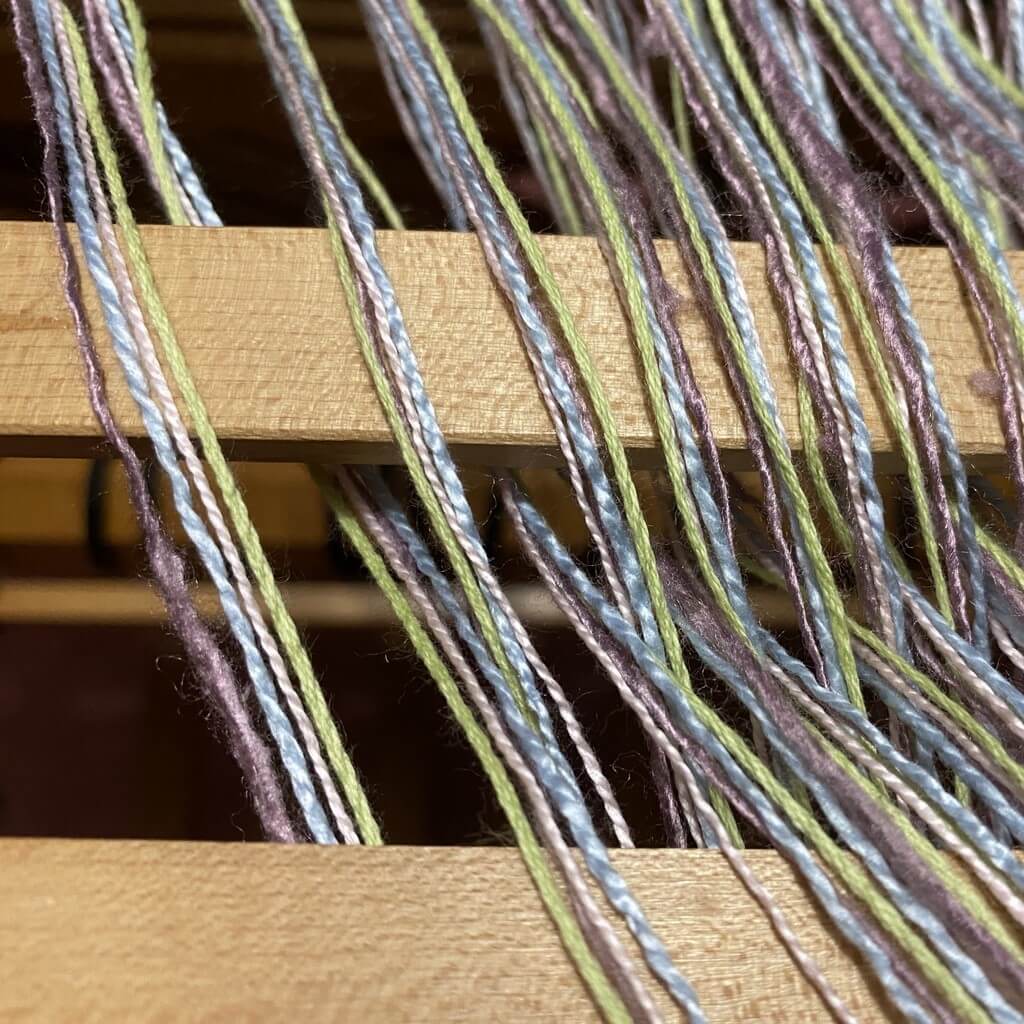
Threads that are wound together and travel together through the cross, on the other hand, do not create a point of friction – at least not with each other. Or perhaps they do, but there’s no point of diversion as well: a thread may well stick to the other threads in its group and travel along with them, but that’s where it was supposed to go anyway.
If you wind and beam with a thread by thread cross, you’ve got the absolute maximum possible number of intersections in your cross: every single thread is a friction point with each of the threads to either side and every single thread is a point of diversion. Ergo, every single thread is a potential tangle.

If you wind two at a time, the potential for tangles is cut in half. Winding three at a time cuts it to ⅓, four at a time to ¼, etc. To my mind, reducing the potential for tangles while beaming is the biggest advantage to winding multiple ends at a time.
There’s a point of diminishing returns, however. Winding multiple ends at a time creates fewer tangles while beaming but increases the potential for them while weaving. The action of the sheds opening and closing while you weave is enough to sort out small twists of the threads between the shafts and the back beam, but is probably not up to the task of untwisting large twists created by winding 20 ends at once, say.
Where the limit is depends on the threads you’re using: if your warp threads are smooth and dense and have little stretch, you can get away with bigger winding groups than if they’re hairy and squishy and stretchy. I can’t give you any hard and fast numbers because the only way to know exactly where the boundary lies is to test it.
I can tell you that I’ve had zero problems winding 10 ends of 8/2 cotton at a time and have even gotten away with 14 ends of a wider variety of weaving yarns but I was anxious about it. Only once have I run into tangles behind the castle that caused me ongoing grief while weaving, and in that case I’m pretty sure I’d only wound four or five together, which is my usual MO.
It builds in error checking while threading
When I dress my loom, I have only one cross and use it both for beaming and for threading, which means my threading cross has more than one end traveling together through the lease sticks. This is a big advantage for avoiding errors while threading.
Example 1:
Say you’ve wound four threads at a time and are threading a descending straight draw on four shafts.

Obviously, each group of four threads that travels together through the lease sticks represents a single threading repeat. The first of them should go on shaft 4, the last on shaft 1, and when they’re all used up you’re ready for the next winding group and the next threading repeat.
Example 2:
Say you were threading Bronson lace instead. Bronson lace has a six end threading unit that always ends on shaft 2.

When winding a warp for Bronson, I’d probably wind three at a time rather than four because Bronson has a six end threading repeat. That would mean that every second group – which is to say, every group that goes over the back lease stick and under the front one or vice versa, depending on how the chain is arranged on the sticks – completes a threading unit. If my pair of winding groups and my heddles for the unit don’t run out at the same time, that’d be an obvious red flag that a threading mistake had occurred.
Even two at a time is better than one for this purpose. Imagine you’ve wound two at a time and are threading overshot. If the first thread of the first winding pair goes onto an odd shaft and the second goes onto an even shaft, the same will be true for every single winding pair across the entire warp. If you reach back to a new pair of threads and find yourself putting the first one through a heddle on an even shaft, something’s gone wrong.
There isn’t always quite as obvious a relationship between the size of your winding group and features of your particular threading, but you can usually find something – and you can usually build in something. I look ahead to threading when I decide how many ends to wind together. Huck lace? Five ends per unit, so wind five at a time. Shadow weave? Wind four at a time, two of each colour. (Or six ends, three of each, but my default is four ends because there are four spaces between my fingers.) Bronson, as I mentioned, I’d wind with three or six.

So that’s why, but what about HOW?
To really cover the hows of winding multiple ends at a time would take an entire class. Until I get around to writing Warp Winding 101, I can tell you this much:
- If you only have one package of weaving yarn, you can wind some of it into a ball or onto a bobbin to create a second package to wind from.
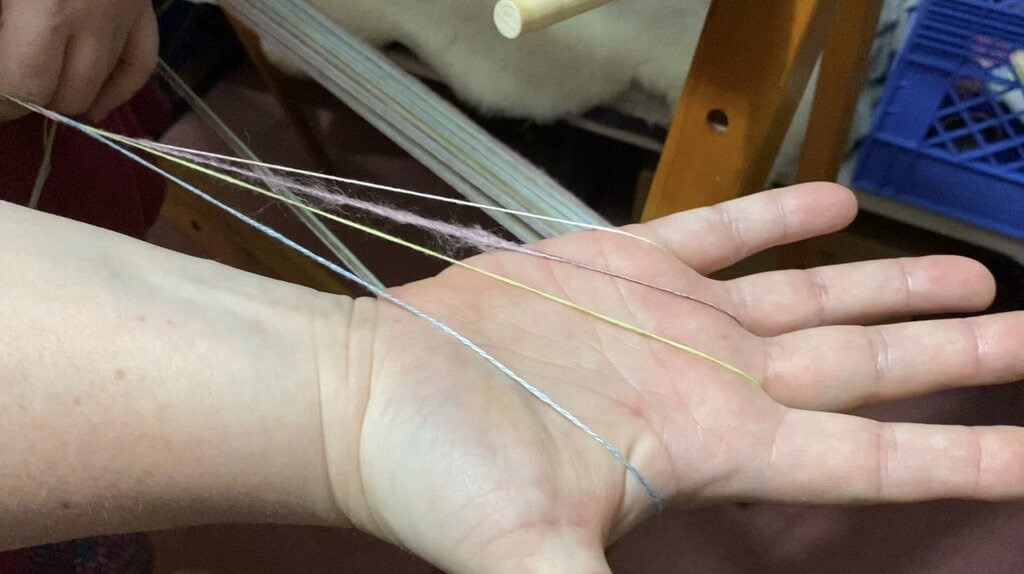
- I do not use a warping paddle. I just hold the threads between my fingers. Other people have good luck with a paddle (or a slotted spoon! or a pasta strainer!) but I find them awkward and more trouble than they’re worth.
- My usual MO is to wind four at a time unless another number better suits the threading or the materials I have on hand.
- If I’m winding five at a time, two threads get paired together in some spot. When I used to wind 10 at a time on a regular basis, I’d simply divide them into two equal groups and hold one set of five between my thumb and index finger and the other between my index and middle finger.
- I do not separate winding groups at the cross. All four (or three, or five, or whatever) threads travel over and under the cross pegs together, and then this winding group stays together during rough sleying and beaming as well.
- Where you position the weaving yarn packages makes a big difference in the threads feeding smoothly while winding.
- I don’t stop for knots. I just wind them into the warp and then deal with them while weaving. This means treating them much like a broken thread once the knot comes up and over the back beam.
Here’s a video that shows me winding four ends at a time on a warping mill. I’m talking about the mill itself rather than managing multiple ends but you can still see how it works.
Try this technique on your next warp, and you will save time warping, which means more time weaving!

From the Weavers Toolbox:

How to wind complicated stripes

How to wind stripes on a mill without cutting and tying
