
Staring at a blank page, or an empty loom, can be paralyzing. Where do you even begin when designing a handwoven project? What if you make the wrong choice? What if you waste time (and precious yarn) on a design that doesn’t work?
The good news is that there’s a systematic approach to designing handwoven projects that takes the guesswork out of the process. This approach breaks design down into six steps that help you move from inspiration to finished design.
This approach is not the “One True Way” to design. Everyone’s creative process is different – so if your method is working for you, then it’s exactly right for you! The purpose of this post is to offer you options and a framework for thinking about design. Take its concepts and integrate them into your own process.
Let’s walk through each step of this approach.
Step 1: Gather Inspiration
Great design doesn’t happen in a vacuum. It starts with collecting ideas that spark your creativity.
Think of your inspiration notebook as a treasure chest of possibilities. It can be physical or digital, whatever works for you. The key is to capture anything that appeals to you: beautiful woven cloth, architectural details, nature photos, color palettes, textures like velvet or tree bark, even concepts like “warm summer thundershowers” or “freedom.”
This sandstone formation went into my inspiration book – someday I might do a design using the curves and fantastic colors. It’s all fodder for the mill!

Don’t worry about organizing everything perfectly. A simple folder where you paste pictures and jot notes is perfectly fine. The magic happens when you’re looking for a new project idea – instead of facing a terrifying blank page, you can simply flip through your inspiration collection at the start of a new project. Suddenly, you have a wealth of ideas to work with.
What to do: Start your inspiration notebook today. Add three ideas or photos that appeal to you. Note what you like about each one and how you might use them in your weaving.
Step 2: Brainstorm Design Concepts
Once you have ideas, it’s time to shape them into actual project designs. But what to make? The possibilities can be overwhelming. This is where constraints become your friend.
Instead of trying to design “something beautiful” (vague and overwhelming), you’ll design “a table runner using forest green, cream, and teal in double weave” (more specific and manageable). Constraints might include:
- A technique you want to try
- Stash yarns you want to use
- An inspirational photo with colors you love
- A specific item you need (like kitchen towels or a baby blanket)
With your constraints in mind, brainstorm multiple design possibilities. Aim for at least five to ten ideas—your first idea is rarely your best one. The most interesting designs often emerge after you’ve moved past the obvious, safe choices.
Key brainstorming rules:
- Go for quantity over quality
- Don’t judge ideas as you create them
- Keep it high-level-don’t get bogged down in details
- Stay inspired by your constraints, but don’t feel bound by them
What to do: Write down your constraints, then sketch or describe at least five different design possibilities. Don’t spend too much time on any single idea yet.
Step 3: Flesh Out Your Design Details
Now it’s time to choose one brainstormed idea and develop it more fully.
If you’re torn between multiple ideas, here’s a secret: there’s usually no “wrong” choice. They’re probably equally good, which is why you can’t decide. So flip a coin and move forward. You can always come back to the other idea later.
Once you’ve selected your concept, fill in the details you know and note what you still need to figure out. Consider these aspects:
- Purpose: What will this piece be used for?
- Size: What dimensions do you need?
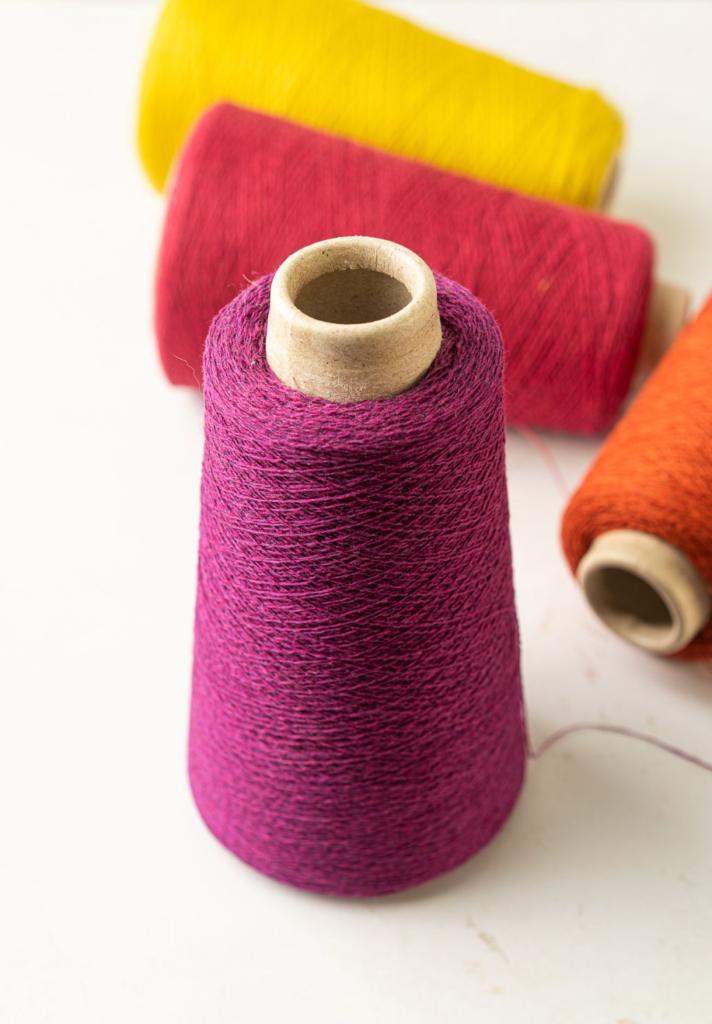
- Yarn type: What fiber and weight?
- Color palette: What mood or feeling do you want?
- Structure: What weave structure interests you?
- Pattern: Stripes? Plaids? Gradients?
At this stage, sketch out several variations of your design—even rough sketches or written descriptions work fine. The goal is to explore possibilities before committing to one direction.

What to do: Fill in the details you know about your chosen design. For elements you’re uncertain about, brainstorm a few options to explore.
Step 4: Make Your Planning Decisions
This is where you make three crucial choices that will affect everything else about your design. These choices aren’t set in stone – instead, you’ll revisit them as your design develops.
Choose Your Yarn Type
Evaluate potential yarns based on three criteria:
- Function: Will it produce a project that works well for its intended purpose?
- Weavability: Will it weave smoothly and behave well on the loom?
- Appearance: Will it create the look and feel you want?
Consider fiber content, yarn weight, texture, stretchiness, and shrinkage rate. For projects using multiple yarns, make sure they’re compatible. Yarns that shrink at vastly different rates can create ripples in your finished cloth. Unless that’s your goal (collapse weave can be fun!), stick to yarns that shrink similarly.
Select Your Color Palette
- Do you want a dramatic, high-contrast piece or something subtle and soothing?
- Will your colors create visual “zingers” of excitement or a calm, cohesive flow?
- How will warp and weft colors interact when woven together?
Color choices dramatically affect your design. Ask yourself:
Choose Your Draft
Your draft choice should consider several factors:
- Pattern scale: How visible do you want the woven pattern to be?
- Color complexity: Complex color patterns work best with simpler drafts, and vice versa
- Draft repeats: Do they fit gracefully into your planned dimensions?
- Pattern clarity: Does the draft create the level of definition you want?

If you want clear stripe patterns, choose a simple draft. If you want the draft’s woven pattern to shine, use a dark color for warp and a light one for weft (or vice versa).
What to do: Work through the planning checklists for yarn, color, and draft. Make preliminary choices for each, knowing you can adjust as you design.
Step 5: Create and Evaluate Your Rough Draft
Now comes the exciting part, creating your actual design in weaving software, on graph paper, or however you prefer to work.
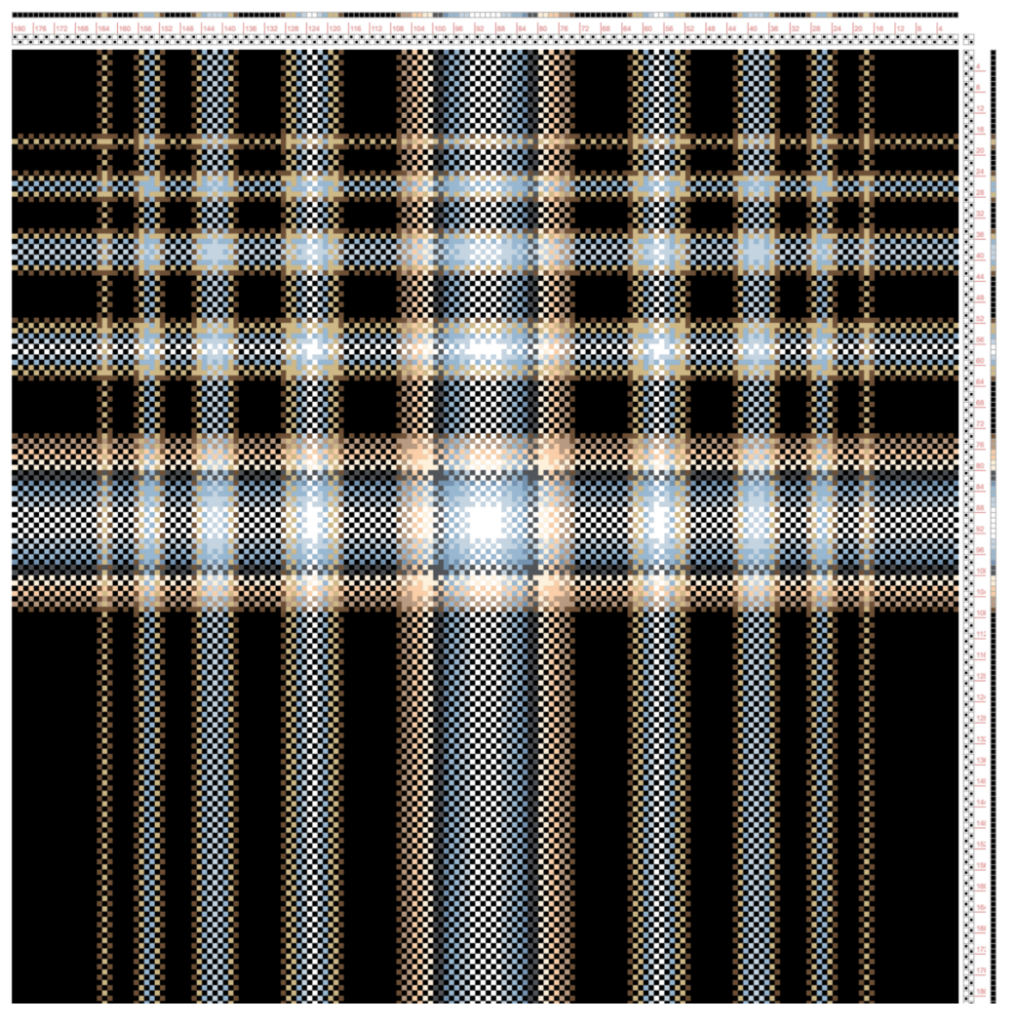
Start with the main feature of your design – the most important or eye-catching elements. If you’re designing with bold stripes, lay those out first. Creating a gradient? Start with that. Don’t worry about getting every thread perfect; you’re establishing the foundation.
In the design below, the central focus is the glowing white/blue square where the wide stripes cross. Start by designing this central focus, then add other stripes to complement it.
Once you have a rough draft, evaluate it thoughtfully:
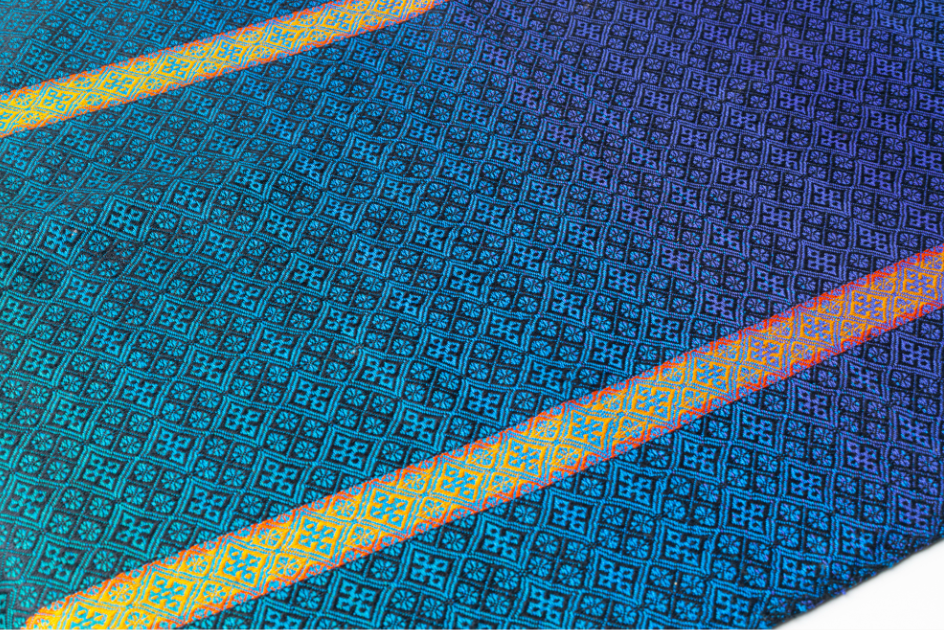
Start with what you like. This is critical. It’s tempting to focus on fixing problems, but brilliant designs emerge from strengthening what already works. Identify what appeals to you, then dig deeper to understand why. Do you like the purple accents because they add drama? Or because the color itself appeals to you? Understanding why you like something enables you to make it better.
What to do: Create a rough draft of your design. Then write down what you like about it and why those elements work. How can you enhance what’s already good?
Step 6: Refine and Polish Your Design
With a strong foundation in place, it’s time to polish your design to perfection.
Strengthen the Good Parts
Based on your evaluation, think about how to emphasize the aspects you love. If you appreciated the drama of color contrasts, can you make them even more dramatic? If you liked the rhythmic quality of your stripes, can you refine that rhythm? Brainstorm several ways to build on your design’s strengths, try them out, and see what works.
Address the Weak Spots
Now look at what isn’t working. What bothers you, and more importantly, why? If stripes feel too busy, is it because there are too many color changes, too much contrast between colors, or an irregular rhythm of stripes?
For each weakness, figure out what’s causing it, then brainstorm solutions. Make changes and re-evaluate. Keep refining until you’re satisfied.
What to do: Polish your design by first strengthening what works, then addressing any weaknesses. Continue refining until you’re happy with the result.
Beyond the Six Steps: Making It Your Own
This six-step process is a method that works well, but remember – everyone’s creative process is different. You might find that some steps work great for you, while others feel awkward or unnecessary. Or you might prefer to work in a different order.
That is totally okay! In fact, that’s exactly how you should work. The goal isn’t to follow these steps rigidly, but to take their concepts and integrate them into your own workflow. Take what works, adapt what doesn’t, and make the process your own.
The beauty of having a systematic approach (this one or your own) is that it removes the paralysis of the blank page. You’re never stuck wondering “what do I do next?” Instead, you have a roadmap that guides you from inspiration to finished design.
Your Design Journey Starts Now
Whether you’re planning your first independent project or your hundredth, this six-step process gives you a framework for creating beautiful, well-designed cloth that reflects your unique vision.
Start with one idea in your inspiration notebook. Follow it through these six steps. Before you know it, you’ll have developed not just one successful design, but a creative process that serves you for years to come.
What will you create with your new design confidence? Your unique approach to these six steps will lead to cloth that’s as individual as you are. Happy weaving!

Ready to dive deeper? The Design Process course provides detailed guidance on each of these steps, complete with checklists, a comprehensive workbook, and examples to help you apply these principles to your own work. Inside the Handweaving Academy, you’ll also find classes on specific design topics such as color mixing, value contrast, and working with stripes to help you master the technical skills that make great design possible.