You don’t need fancy cameras or lighting equipment to improve your photography skills~ In this blog we will investigate just three simple steps to elevate your weaving photos.
Almost all the photos in this blog were taken with an iPhone 13. Most of them are unedited unless indicated.
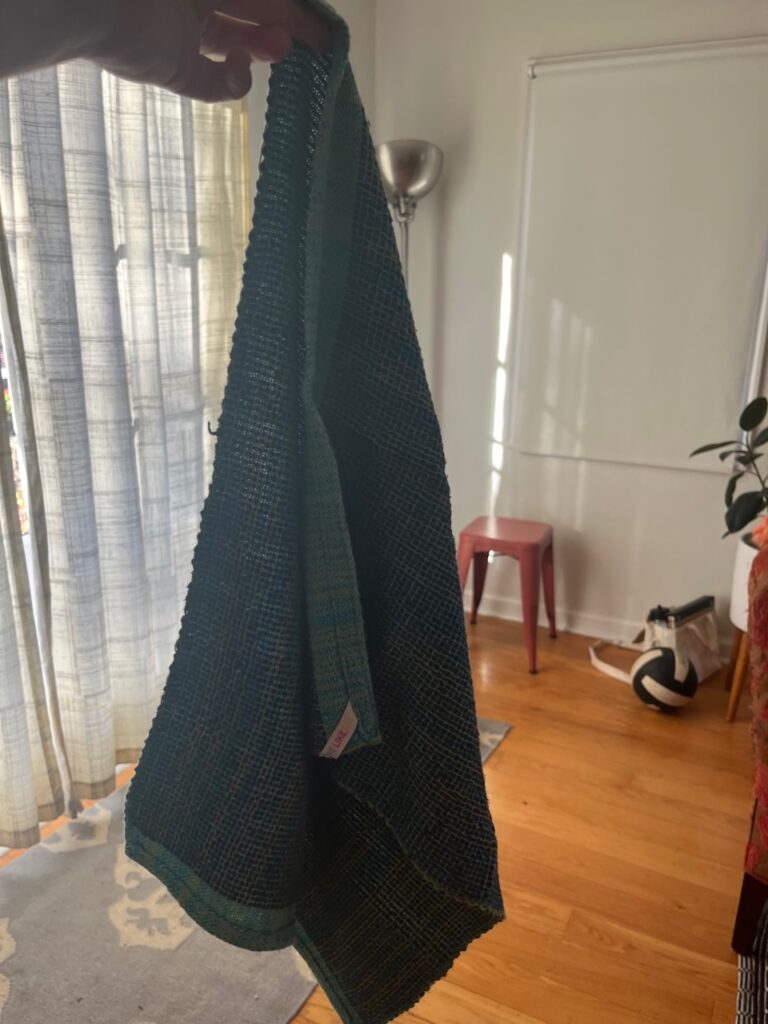
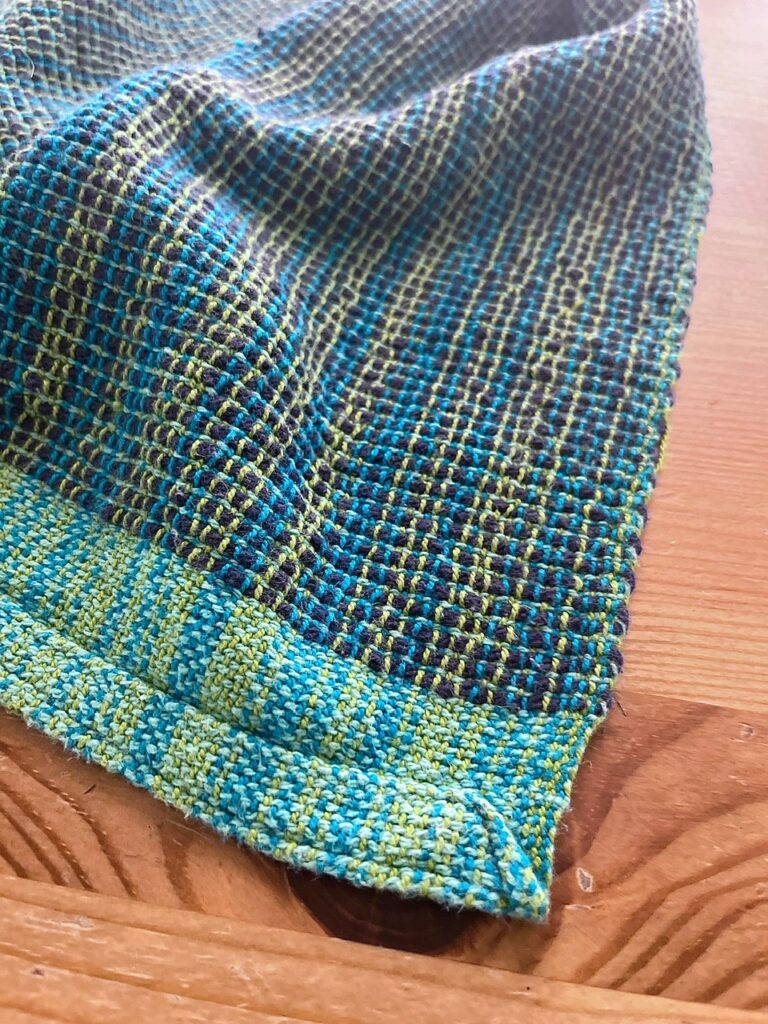
Let’s introduce our subject: the simple kitchen towel I wove a few years ago. This photo leaves much room for improvement (and it’s a good reminder to take a moment and clean your camera lens!)
Step One: Find a natural light source
This is the most important thing you can do to improve your photo quality.
As a rule, overhead lighting in a room will not shoot well. Let’s break down why this is:
Cameras, whether film or digital, depend on the quality of light to accurately record color. Our eyes and brains do a decent job of adapting to different light sources. Film cameras could not adapt at all. (Remember all of our old orange childhood photos?) Digital cameras have some color-correcting ability, but they are not always effective.
All light, whether it’s sunlight, candlelight, or light from your computer screen, has a color temperature measured in Kelvin that impacts how warm or cool colors appear. This can get very sciency, but all you really need to know is that natural light has a high color temperature, which runs blue, while most indoor lights have a low color temperature, which looks green or yellow or orange/red. This is why your childhood photos look orange if taken indoors without a flash, and your photos in the high school gymnasium look sickly green.
Here is our subject at night under my dining room light.
You can see how orange the photo looks. The glare on the table isn’t attractive, and the colors are dull and muddy.
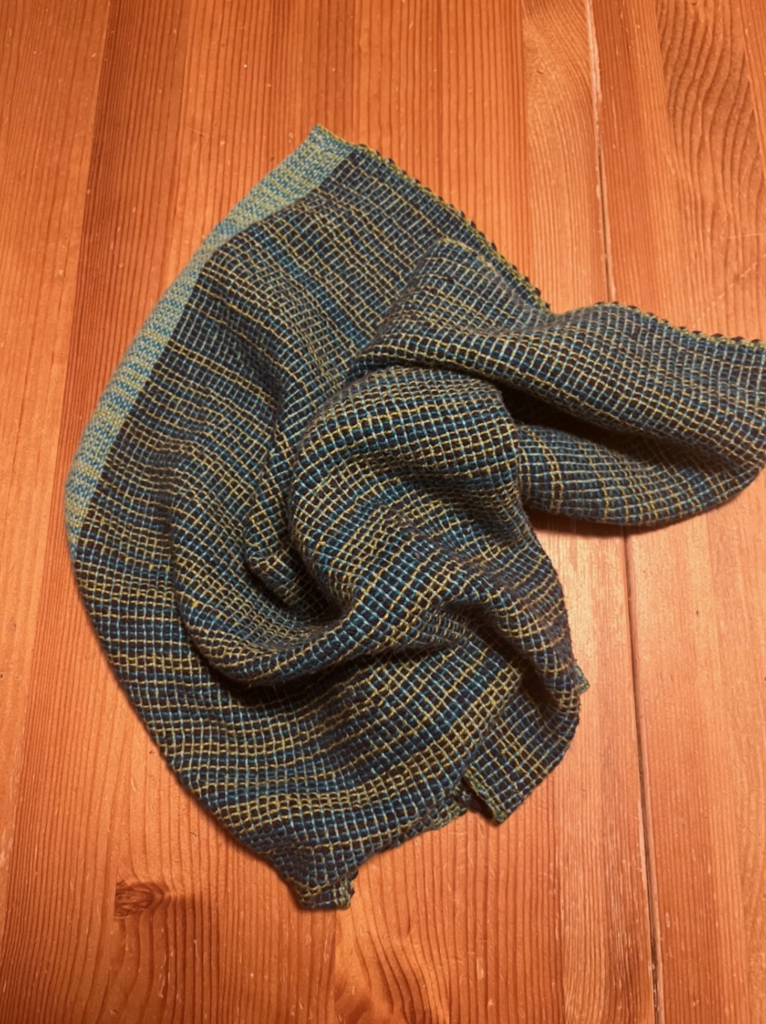
Here is the same towel on the same table by the window
That one change (and maybe some framing) made a world of difference in the accuracy of the cloth’s color representation. Plus, the light is now coming from the side, which is much more attractive than a glaring overhead light.
However, not all natural light is the same. The photo above the light is Diffused through a curtain or clouds.
Remove the curtains and clouds and you get direct light.

Direct light gives you more contrast and dramatic shadows. Generally, diffused light is preferred for most images, and direct light is used for a creative impact or to show the sheen of the cloth. If you’re not sure which you prefer, default to using diffused light all the time and avoid direct light.
Step Two : Use your phone’s editing and shooting tools
Almost all phones have basic editing tools, and if they don’t there are many photo editing apps you can download. Even Instagram offers basic retouching tools. Although these settings vary from phone to phone, some aspects remain consistent. For example, color temperature, or warmth, is an adjustment that ranges from blue to orange, or from cooler to warmer, to adjust for warmer or cooler lighting. Saturation will always let you adjust the colors from black and white to bright neon. And exposure will always let you lighten or darken the photos.
Open your phone camera’s editing settings and see what they offer. I generally make the most extreme changes so I can see what they do and how they impact my photo if I don’t know what the setting does.
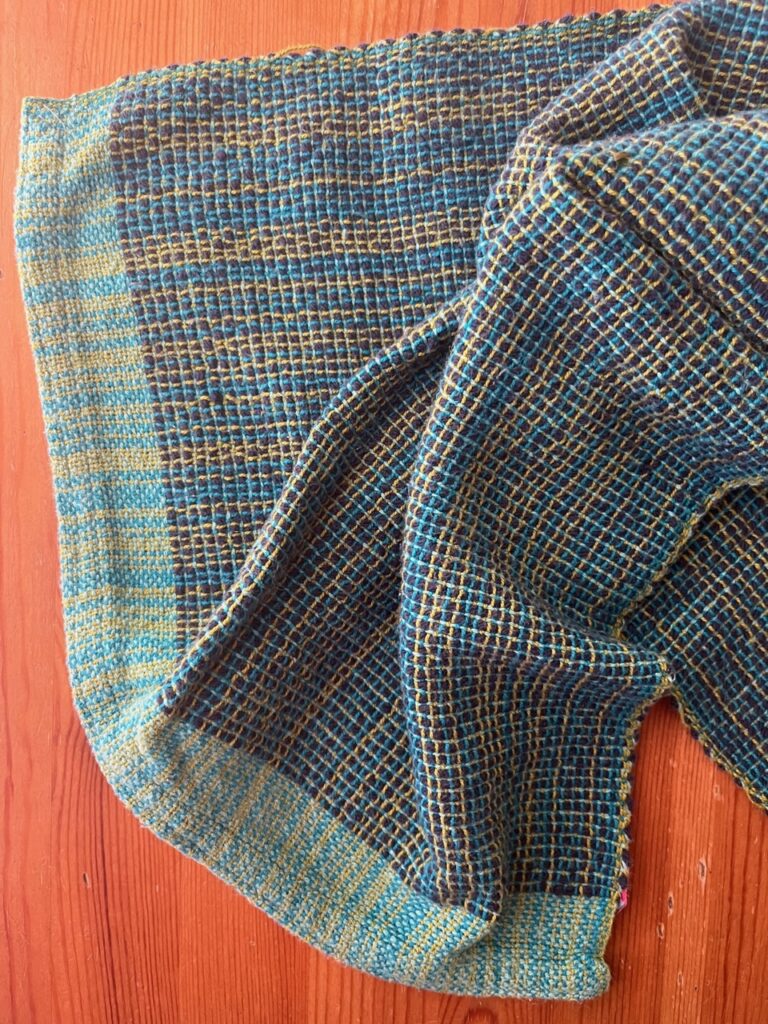
Let’s go back to a photo of my towel in natural light again:
It’s not too bad; it does look a little warm, and my actual towel is brighter in real life. Using my phone’s editing capabilities, I adjusted the color temperature slider to make the image cooler and bluer. I also added a little sharpness until my photo looked more accurate. Different people will edit the photo in different ways, much like how we adjust our weaving projects, and this is part of the artistry of photography.
Some phones offer different shooting modes that can be worth experimenting with. iPhones have a Portrait Mode that sets the focus on a subject and blurs everything else.
Here is a photo taken with its regular setting:
And then the same image shot with the portrait mode on. I think this photo has a dreamy quality, and it’s clear the subject is the towel because the sharp focus draws your attention to it. It looks much less like a photo taken with a phone camera.
You don’t need to know everything about photo editing, but just a few tricks can significantly improve your phone camera photo quality, and it’s well worth the time spent learning more about the settings available.
Step Three: Define the photo’s purpose and tell a story
Ask yourself: am I taking this photo to record my work? Is the photo for social media? Am I uploading the photos to an online store? Am I simply sharing it with other weavers?
Defining the “why” of the photo will help you determine how much time and effort you need to put into styling and lighting. If you want to sell your weaving online, you need to invest more in shooting and styling, for example. But even if it’s just a quick shot for a show and tell, it’s still helpful to pay attention to basic lighting and framing so you can show your work in the best way possible.
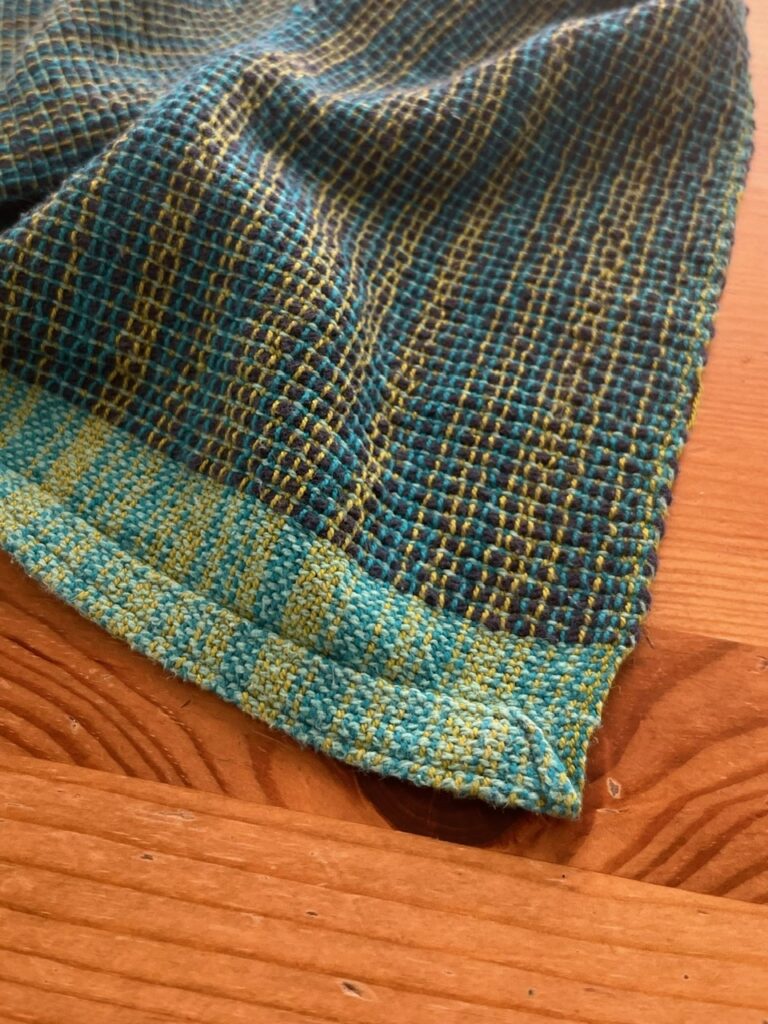
I like to take at least one detail photo of my work, in natural light, for my own records. I can’t tell you how many times I have needed to refer to a photo like this to remember what yarn I used or how many times I repeated a treadling or threading. Adding a measuring tape or ruler to these photos can also be very helpful. These photos are also good to have on hand if you want to send a publisher a design idea based on a past project.
Consider the life of the item. How is it used? Where? And by whom? Telling a story with props and showing the item in use is fun and will make your woven piece seem more “alive”.
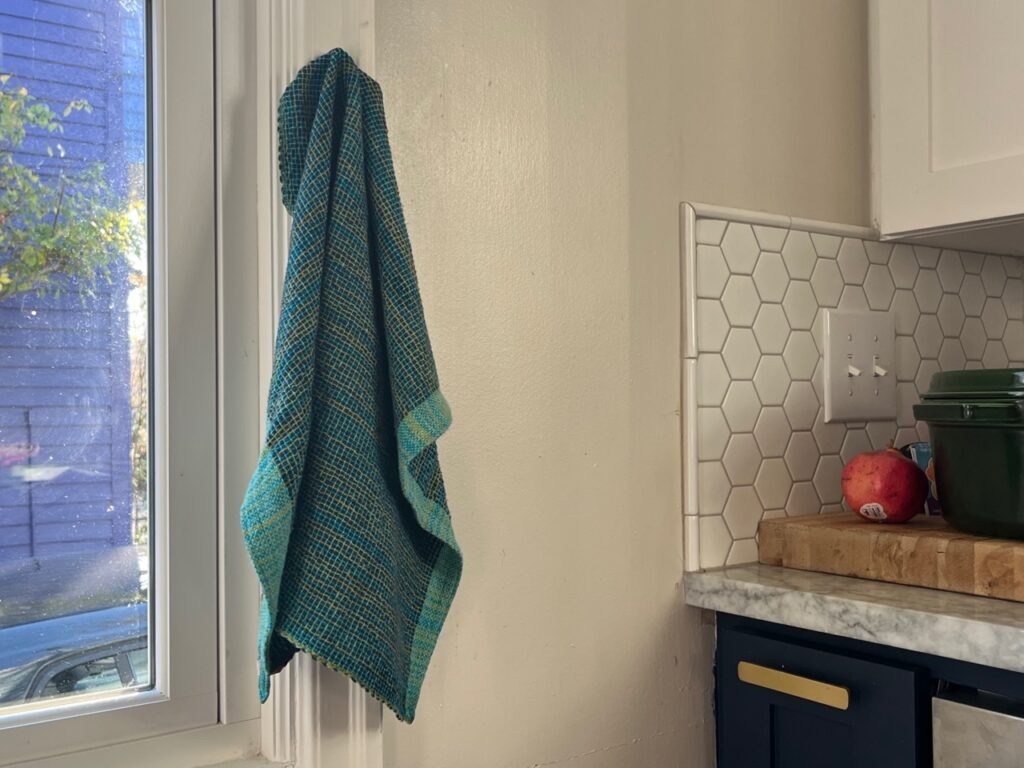
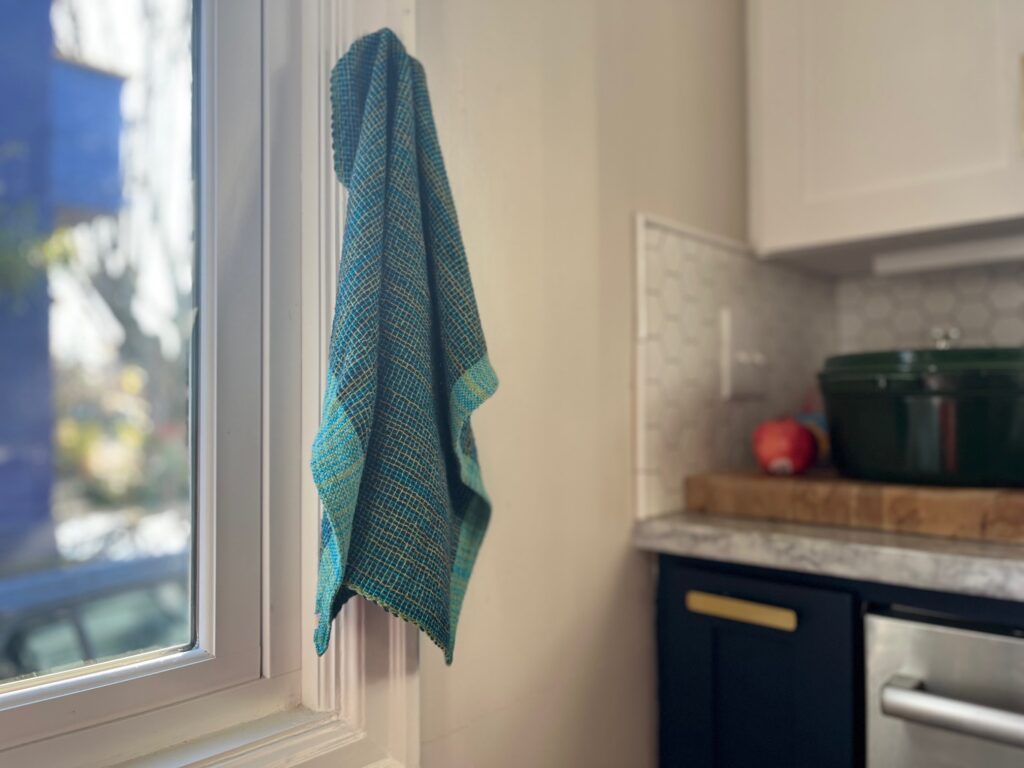
Here, our humble towel was captured in a cooking scene near my kitchen window while making lunch using the portrait mode of my phone’s camera. This photo is the one that I would put up on social media, and it only took me a few minutes to arrange.
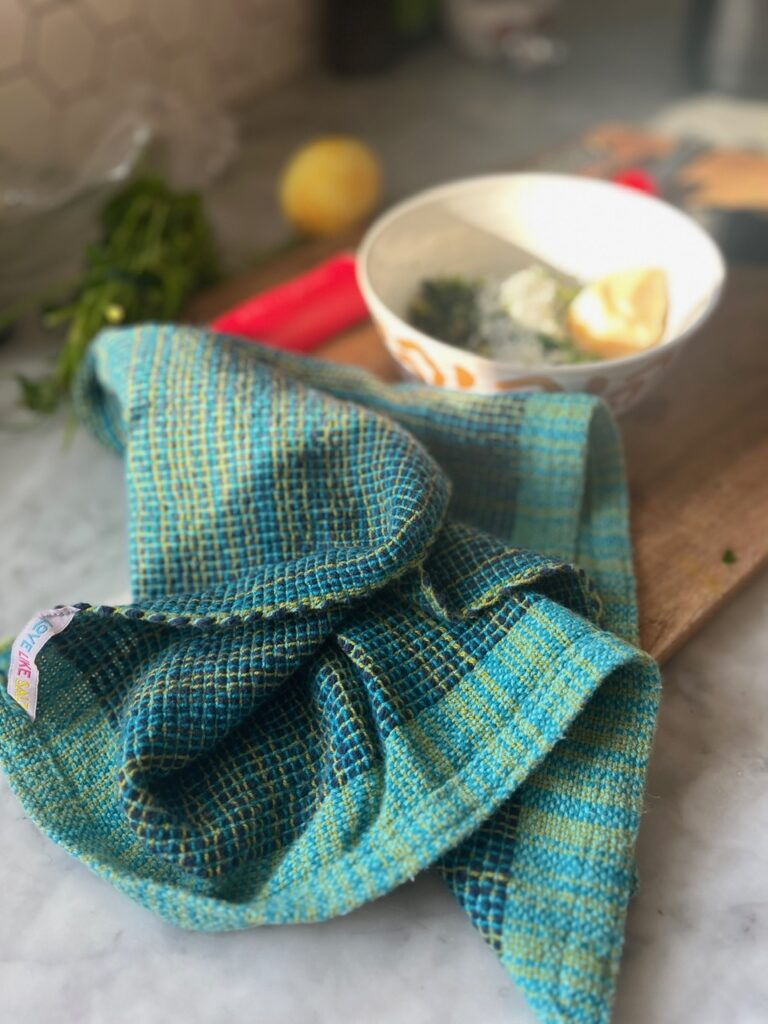
You can also show the item in its “natural environment.” Hang towels from the dishwasher or oven or towel hook. A scarf can be hung by the door, or on a hanger if you can’t find a model to wear it for you. These images capture the cloth and its purpose. You can almost feel the cotton in your hands. The key here is still using natural light from a window.
Taking the work into the great outdoors.
The best place to find natural light is outside, but I recommend using the outdoors only if it adds to your photo’s story.
Outdoor light can be too flat, it lacks a direction and can be too direct or too bright. On a sunny day it can be simply too bright to shoot unless you shoot in the shade, and then the light will be very blue.
Our little towel on the table on a cloudy day certainly looks fine, but the light is very flat, there are few shadows, though the color is vivid and sharp.

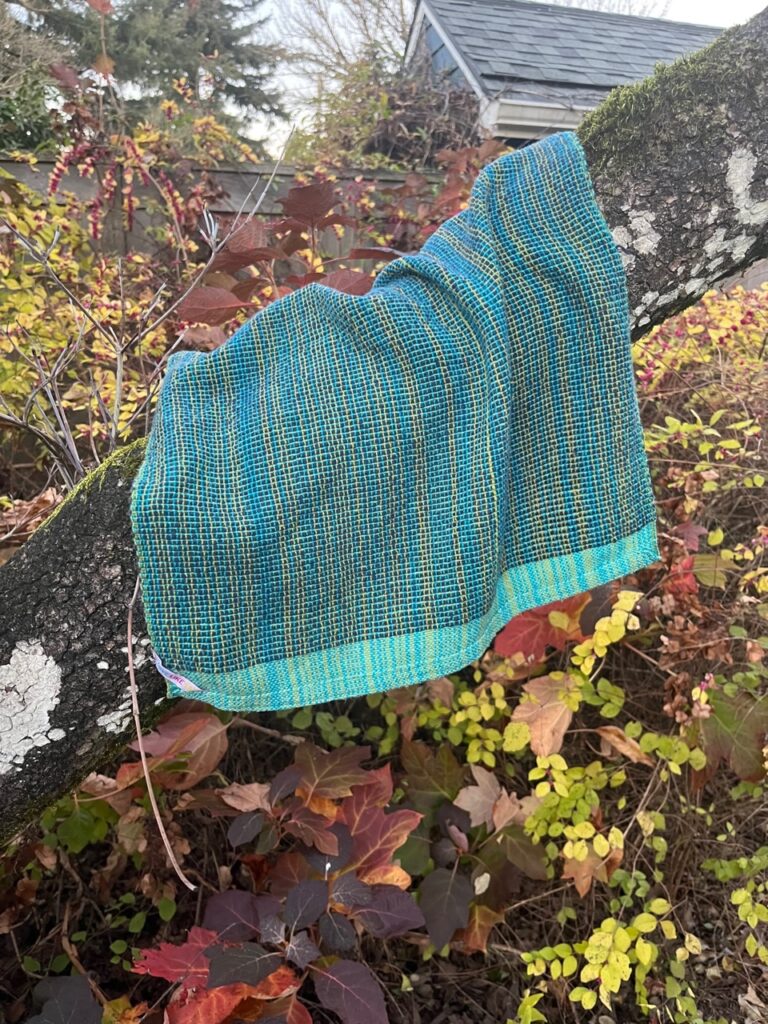
Nature can be used as an attractive backdrop but consider if it really helps you show off the work. This tree is the only structure in my yard that can hold the towel… but why would a towel be in a tree? However, if I hung it on a clothesline, the story would make much more sense.
However, done with intention, outdoor shots can really add to the right woven item.
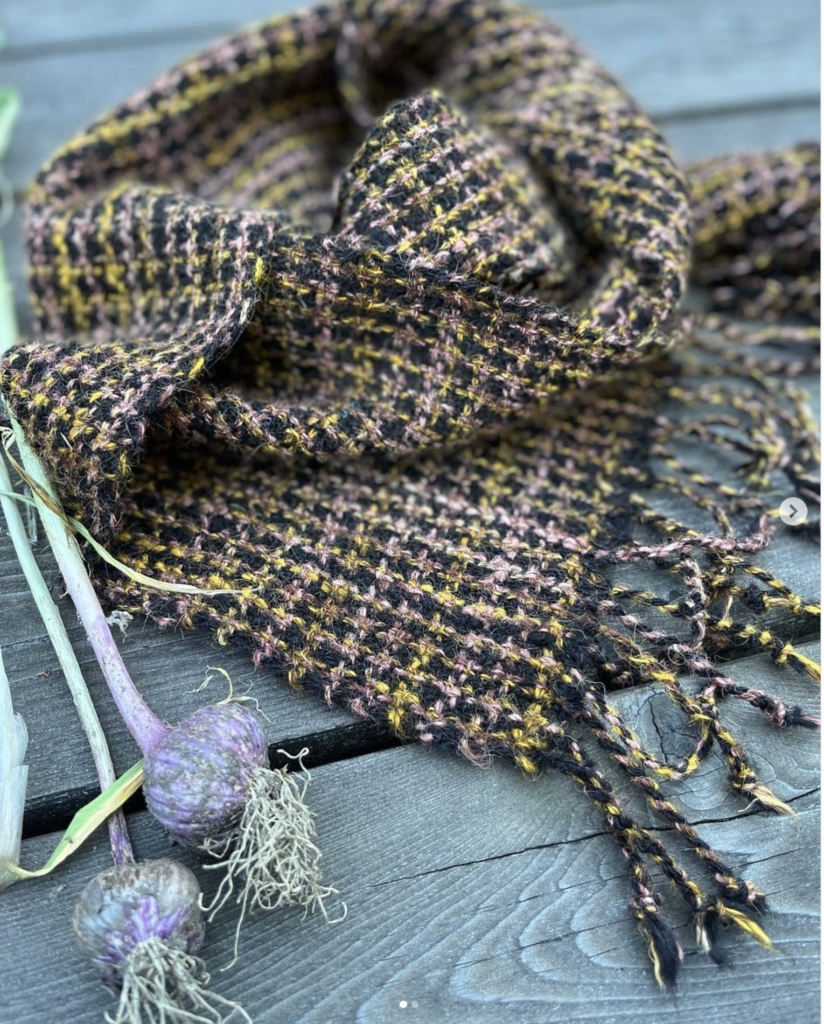
This is a “farm to closet” scarf I wove with my handspun, locally sourced alpaca, colored with natural dyes.
The diffused, dreamy blueish and soft outdoor light really adds a feeling of “nature” in a way that indoor light or even studio light cannot. Plus the cool light makes it feel like the scarf is somewhere actually getting cold.
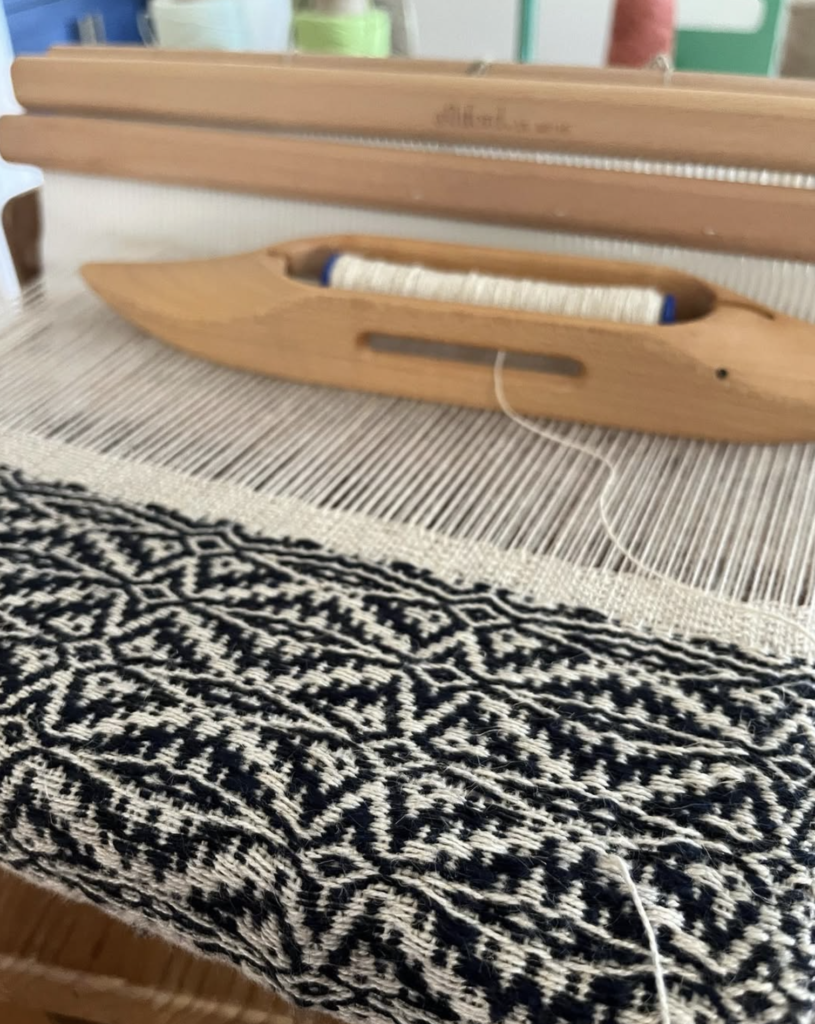
Taking cloth on the loom and process shots.
I love “on the loom shots” when the fabric is held under tension, and you can see the structure clearly. The drawback to these is usually lighting: unless you have a studio with windows you are stuck using artificial lights.
Even so you can improve your photo quality with these rules:
- Be aware of your angles. Keep the phone camera level and center your weaving. Framing is very important for loom shots. There is no reason not to take a moment to make sure your camera angle is straight or to think of how the work is framed in the shot.
- Use only one light source so the cloth only has one color temperature lighting it. Then you can use editing tools to attempt to match the color as best as you can. If you use two light sources, one is warm while the other is cool, there is no way to correct both simultaneously.
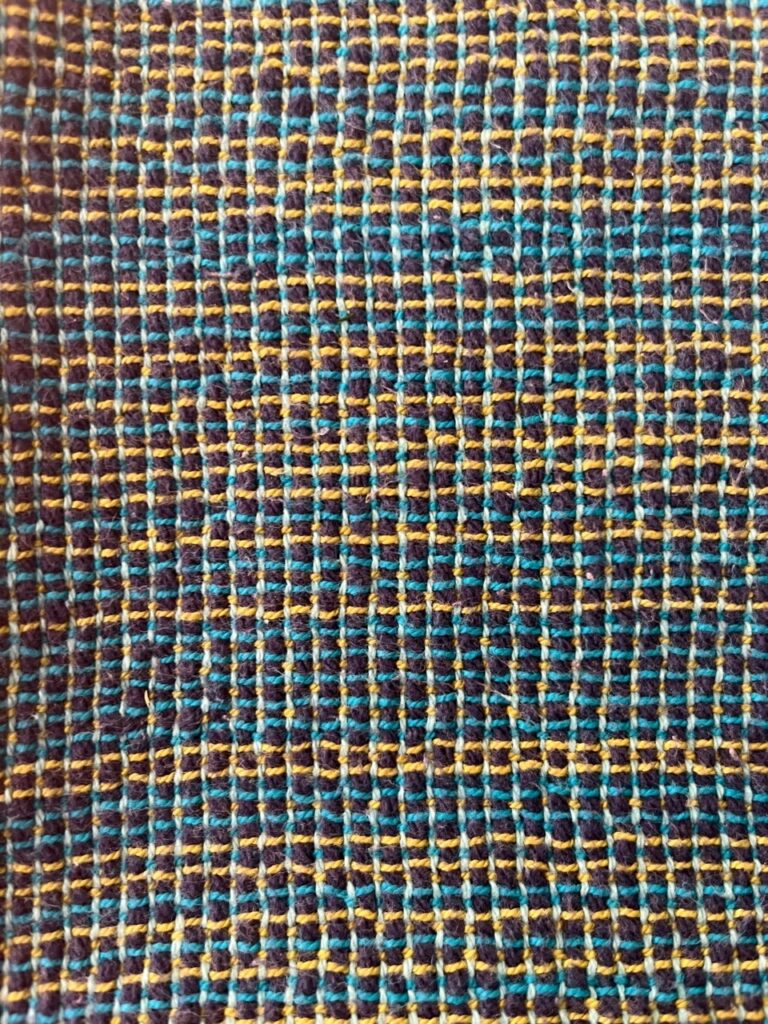
I also don’t worry about matching the colors perfectly in poor lighting because it’s often a fool’s errand. Instead, I focus on making the colors look as attractive as I can. Here, I made the pinks and reds of my band more vibrant than they would be in real life to contrast with the orange wood. Although it was taken with overhead, yellow light, the photo still feels alive. Another trick I use is reducing the color saturation so the photos showcase my value selections more than the actual color.
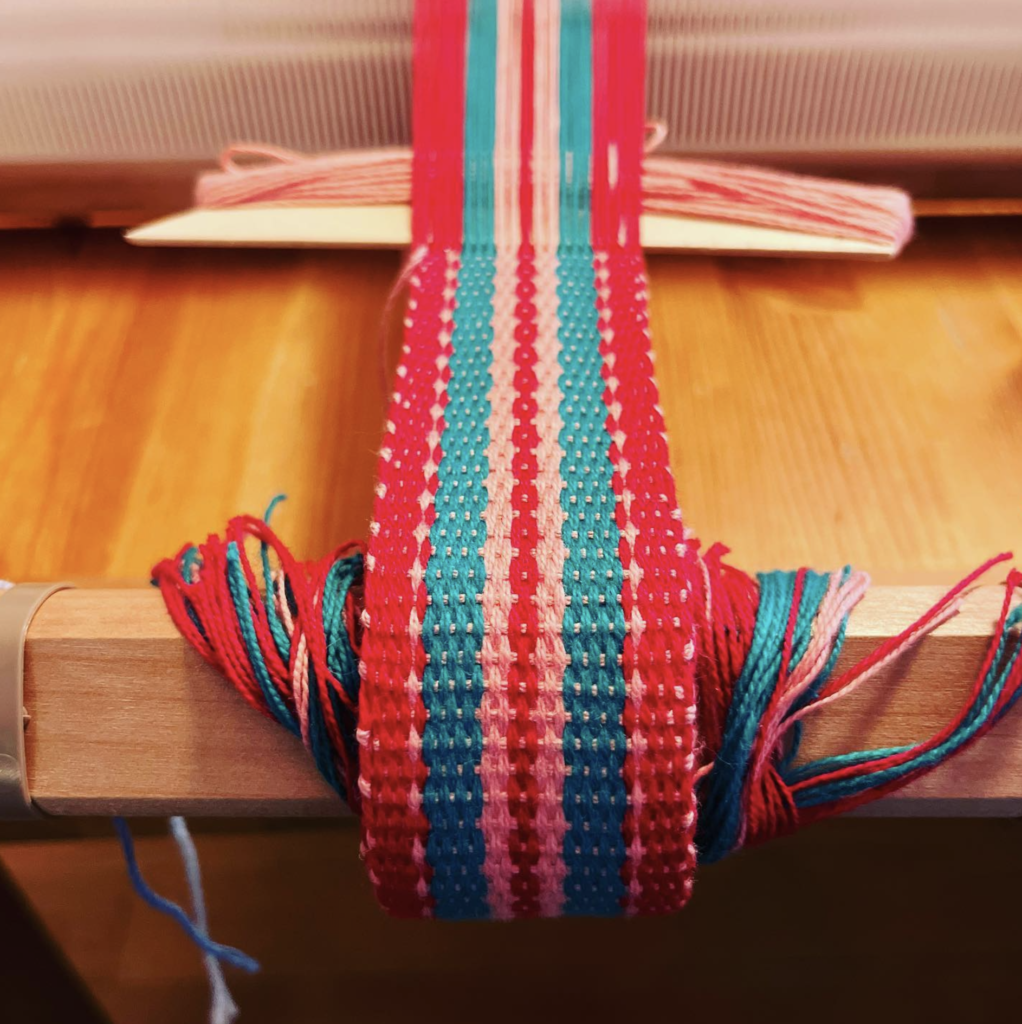
I also like including equipment and playing with the composition and framing. Because my work is on a rigid heddle, I want my heddles to always be visible so people don’t assume it’s on a floor or table loom. If you have a special loom or piece of equipment, try to include it in the photo.
If you use angles, make them look intentional and dramatic. I use this technique a lot if I am unhappy with my selvages because it keeps them out of frame. For this picture, I also made sure the background had cones of yarn and not the laundry I was folding on the dining room table.
Don’t let perfection be the enemy of good
Work with what you have, look at what other weavers do on social media and in forums, and use good light. You work hard at your woven items, and take a moment to let your photos do the talking.