
At some point in your weaving life, you will take a piece of fabric from the loom, then sigh when you notice that there is an error in it in the form of a float that shouldn’t be there.
Don’t be too worried about it, it happens to the best of us, and for some, (ahem….me) it happens on a seemingly regular basis.
There are lots of reasons for these floats to occur, and there are often remedies for those reasons, but for now, let’s just talk about how to fix them.
I have a few examples here, from the napkins that I am currently weaving.
I ended up cutting this part napkin from the loom, because of the errors. Now that I have corrected the causes, things are going well. I would normally toss this error ridden piece into my “bin of doom”. However, I thought you might like to see how I repair these errors, which cover a number of different scenarios.
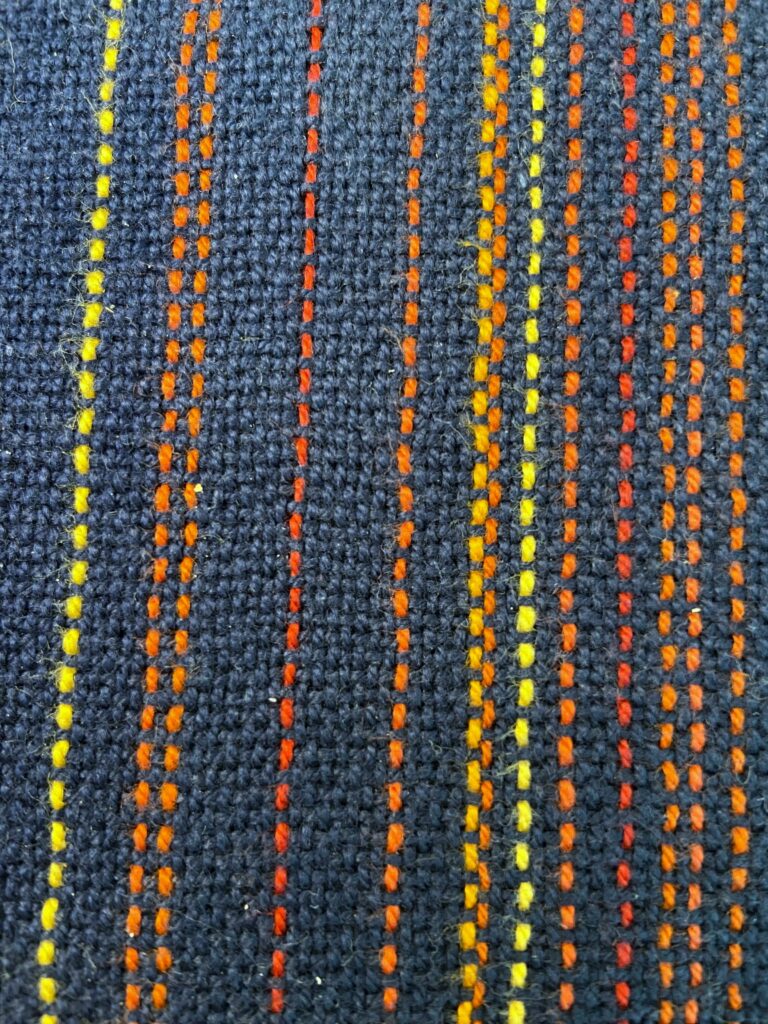
Error 1: I wove a contrast stripe into this napkin, using 4/8 cotton. (The rest of the napkin is done in 2/8 cotton, but I thought the thicker stripe would give it some structure, if I decided to do some fancy folding). Obviously, I was not paying attention while weaving, as I ended up with this weft skip, which is pretty eye-catching; and not in a good way.
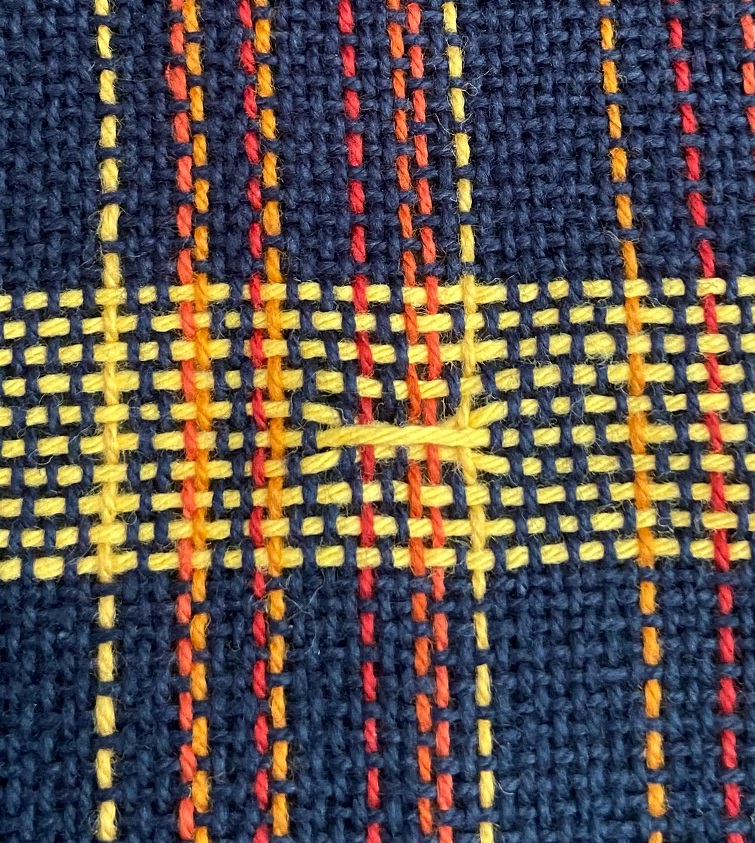
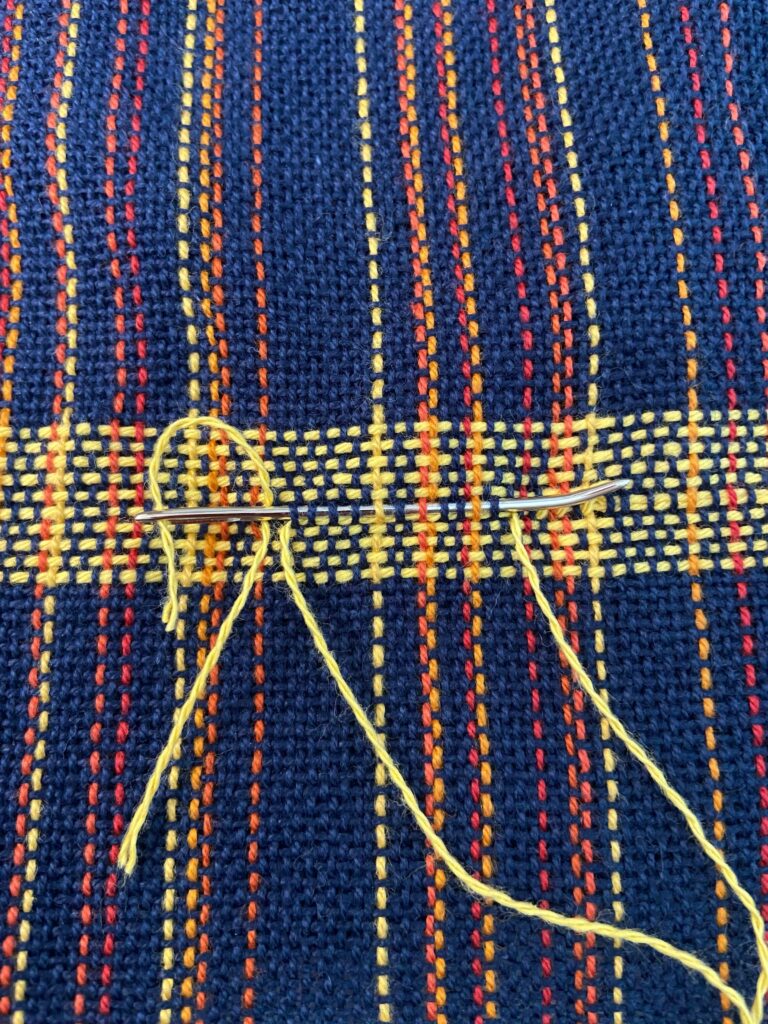
In order to fix this type of float, I threaded up my bent tip blunt needle with a length of the weft yarn. (I like Clover and Chibi brands, but there are quite a few options for this type of needle, in different diameters to match your yarn size.)
I wove my needle into the web, following the path of the weft pick with the float for an inch or so on one side of the float. Then I inserted the needle along that path that the floating yarn SHOULD have taken.

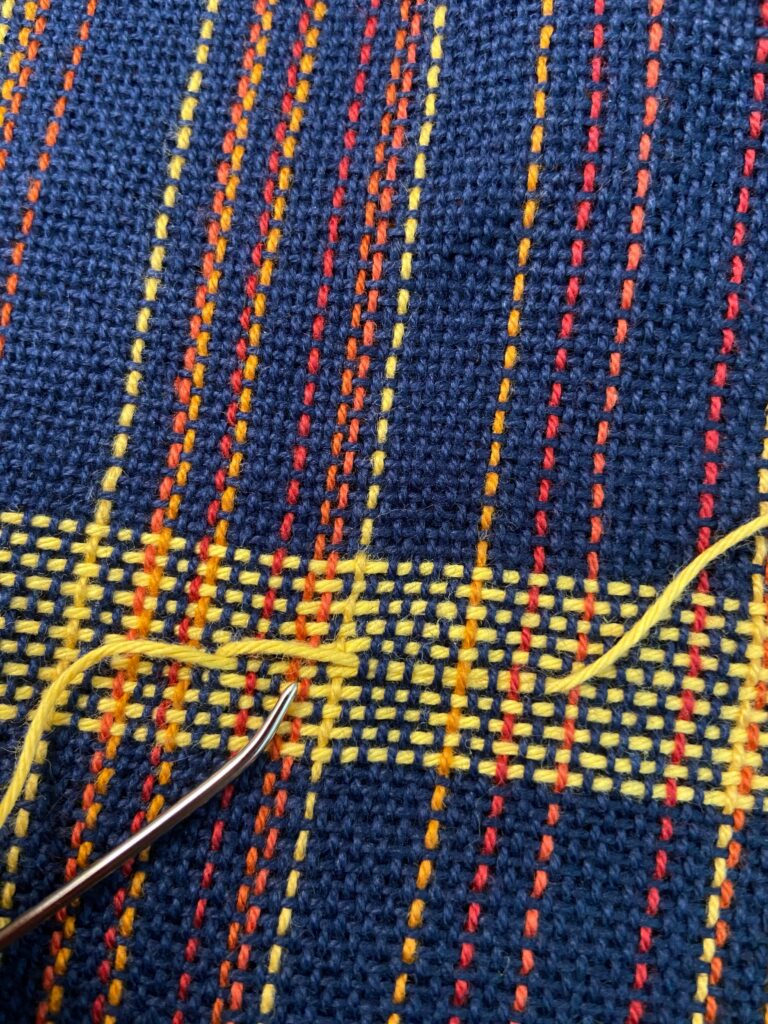
Generally, I would continue on with the repair, weaving the needle along the path that the weft pic with the float in it takes for another inch or so. Then I’d clip the ends, wet finish the piece, and trim the ends of the repair thread and the skip flush with the fabric.
However, as I was making an example of this piece, I decided to double down, and show you a different method as well.
For the second overlap, I split the plies of the repair thread, and did the overlap with one half of the plies. The reason I did this is that I want the repair to be as invisible as possible.
Splitting the plies requires a little more time and effort on the part of the weaver, but it does make a less noticeable repair.
NOTE: Repair overlaps done with two full threads (as opposed to those done with split plies) are more visible as the yarn thickness increases. Highly contrasting warp and weft also increases the visibility of repairs.
Here, I have woven in half of the plies of the repair thread.
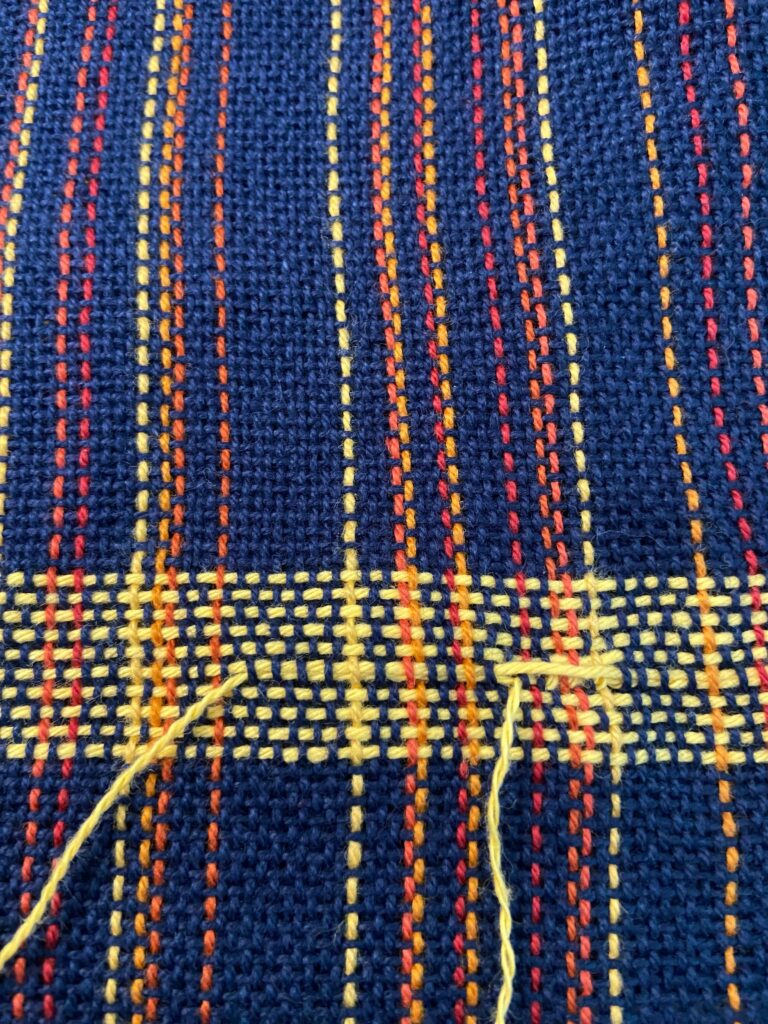
In order to make this overlap nearly invisible, I also need to split the plies of the original weft thread. This means that I need to snip the actual float, and pull the original weft thread out of the fabric, to the point where the half ply repair end exits the fabric.
I then need to split the plies of the original weft thread, and weave half of THOSE back in, overlapping with the half plies of the repair thread.
After wet finishing, you can see that the two thread overlap is more visible than the split ply style.
You, as the weaver, get to decide if the results of the split ply method is worth the extra time required.
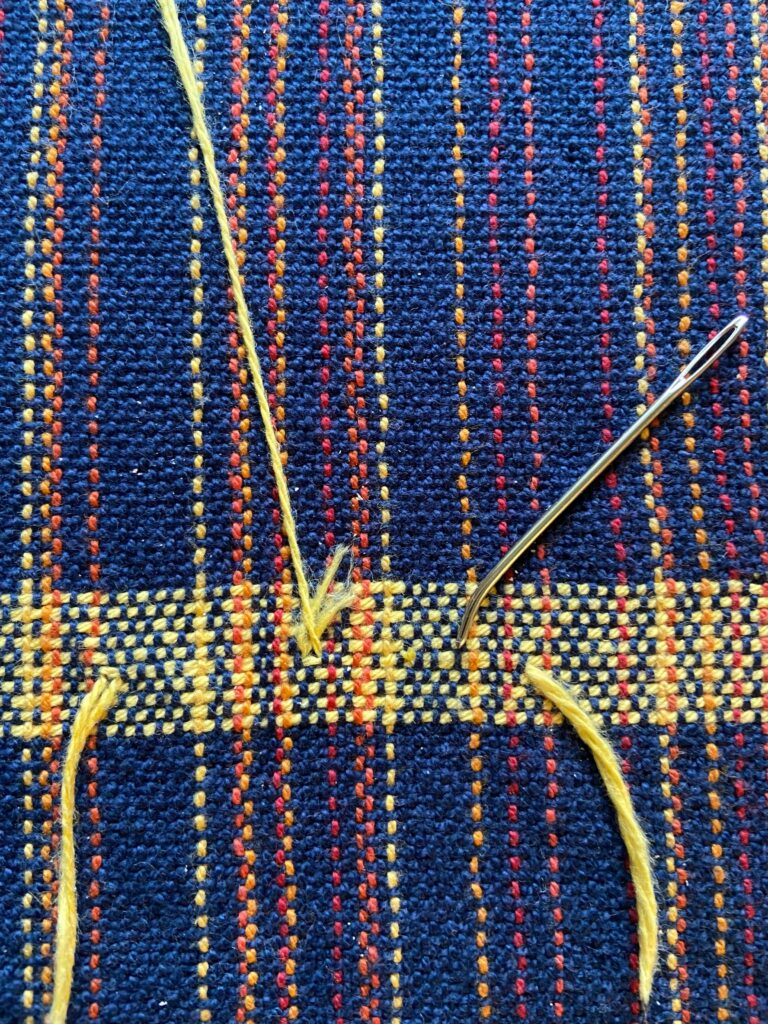
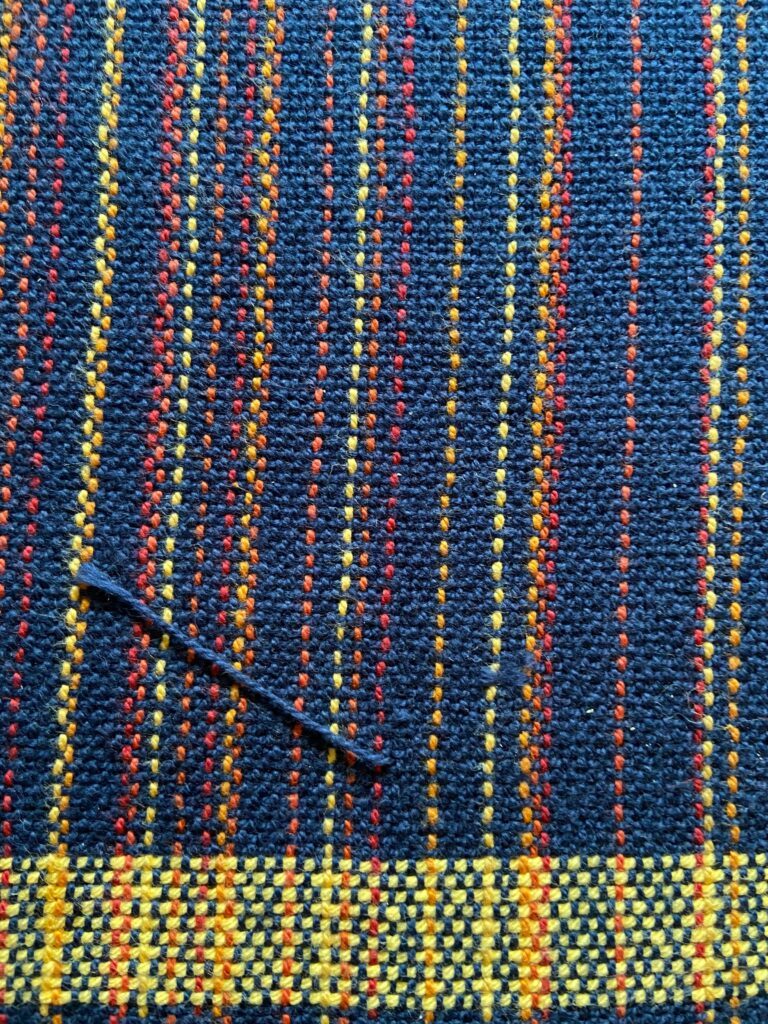
Error 2: I have a warp float that was caused by poor tensioning of a warp end. I weighted the end while weaving to stop the floats from continuing. When I got to the end of the piece, I removed the weight, pulled the extra length up where the float was, and secured it with a needle.
Once the piece was off the loom, I snipped the float at one side, then used that extra length to weave the end in where the float should have gone, and I overlapped the ends for an inch or so as well.
In this case, because the threads are quite dark, I didn’t bother splitting the plies. After finishing, the repair is almost invisible.
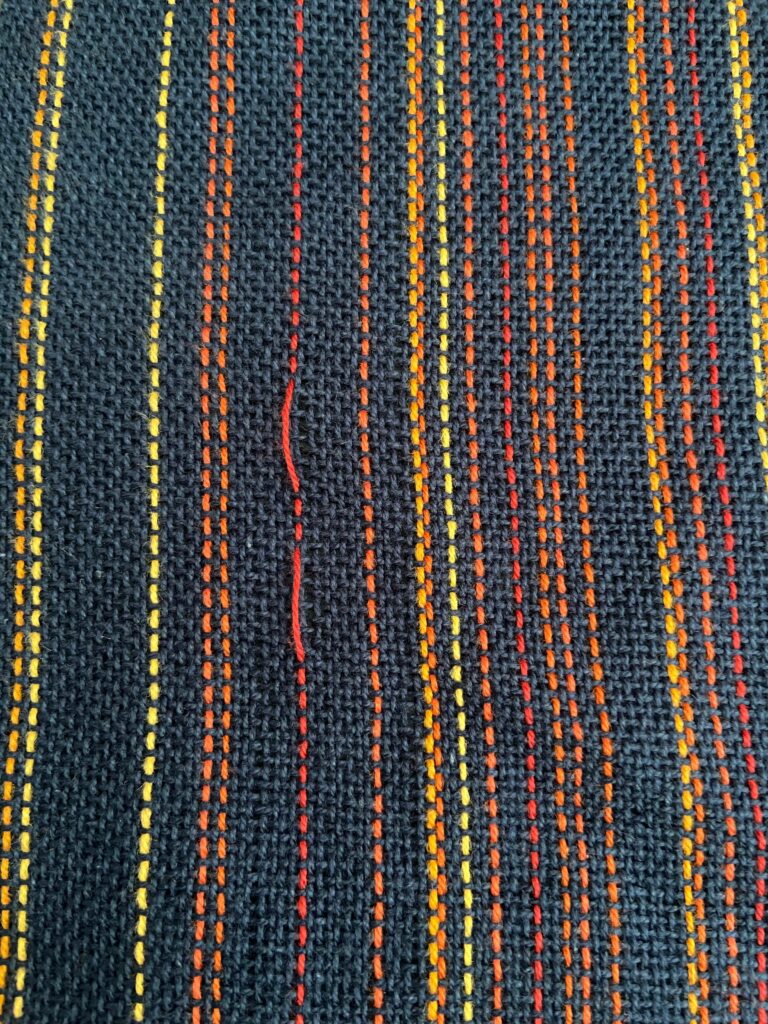
Error 3: I have a set of warp floats, in the same warp.
Let’s assume that instead of the napkins I was working on, this warp float occurred near the end of a scarf, and you want this scarf to be perfect (error, and repair-free)
If I want this “scarf” to have no visible repairs, that would mean that I need to pull the warp thread out all the way from the fringe to where the float is located, and weave it back in all the way to the fringe. This can be pretty challenging, particularly if the weave structure is more complex than the plain weave shown here.
Here is a method that will likely save you some frustration!
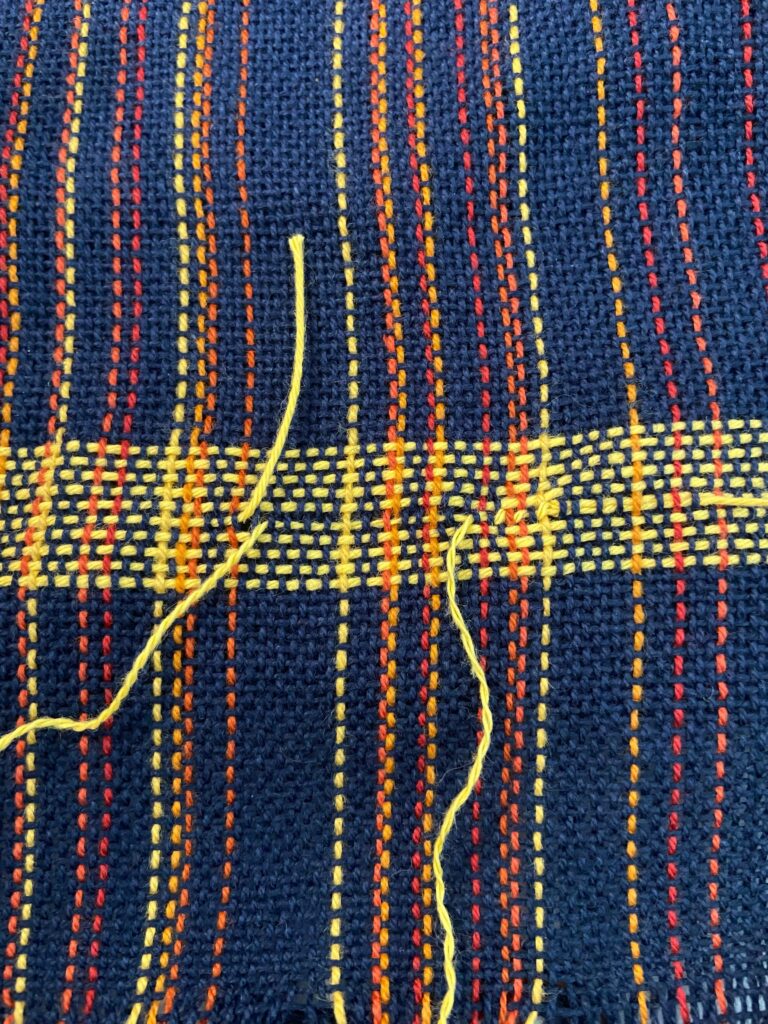
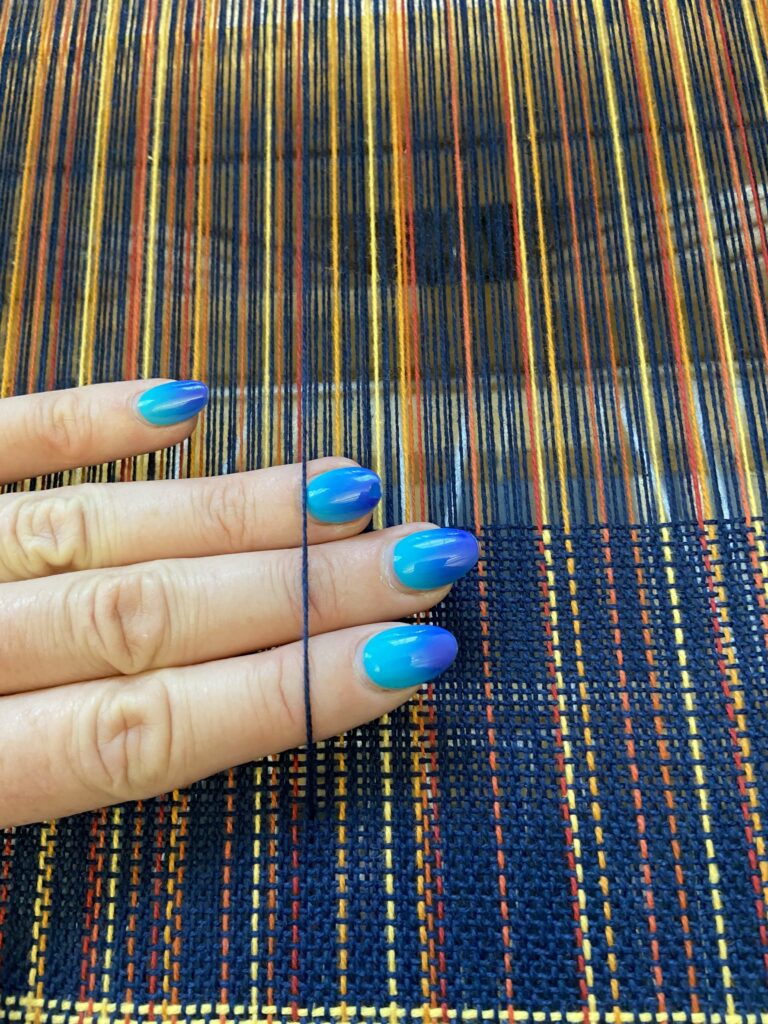
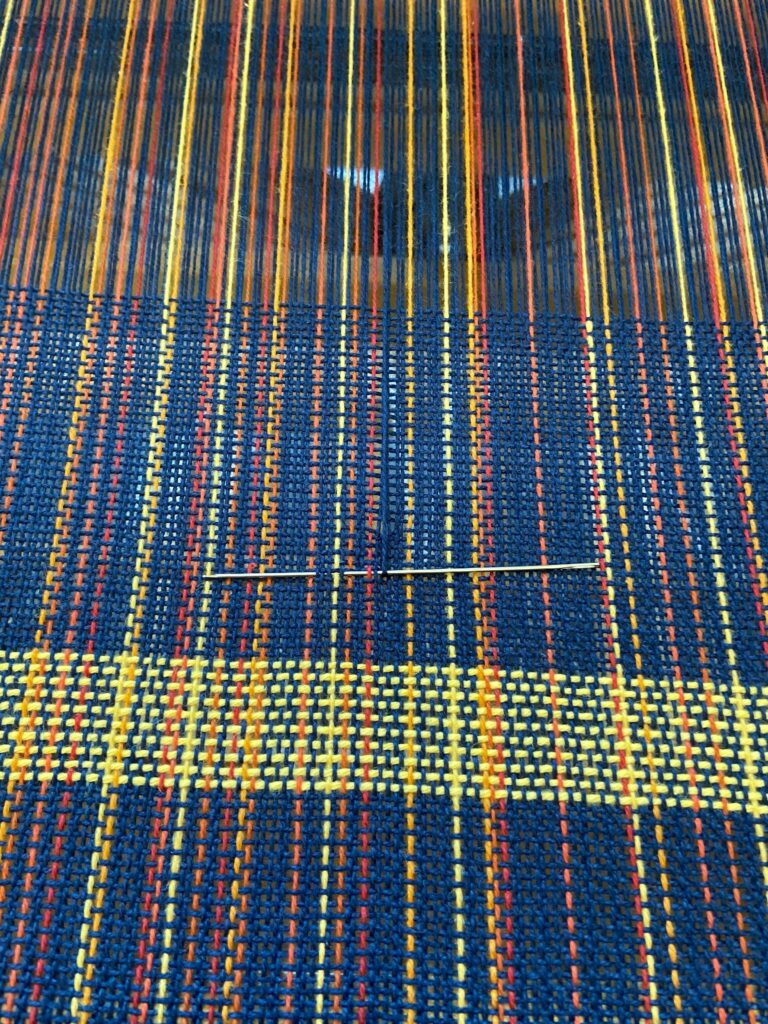
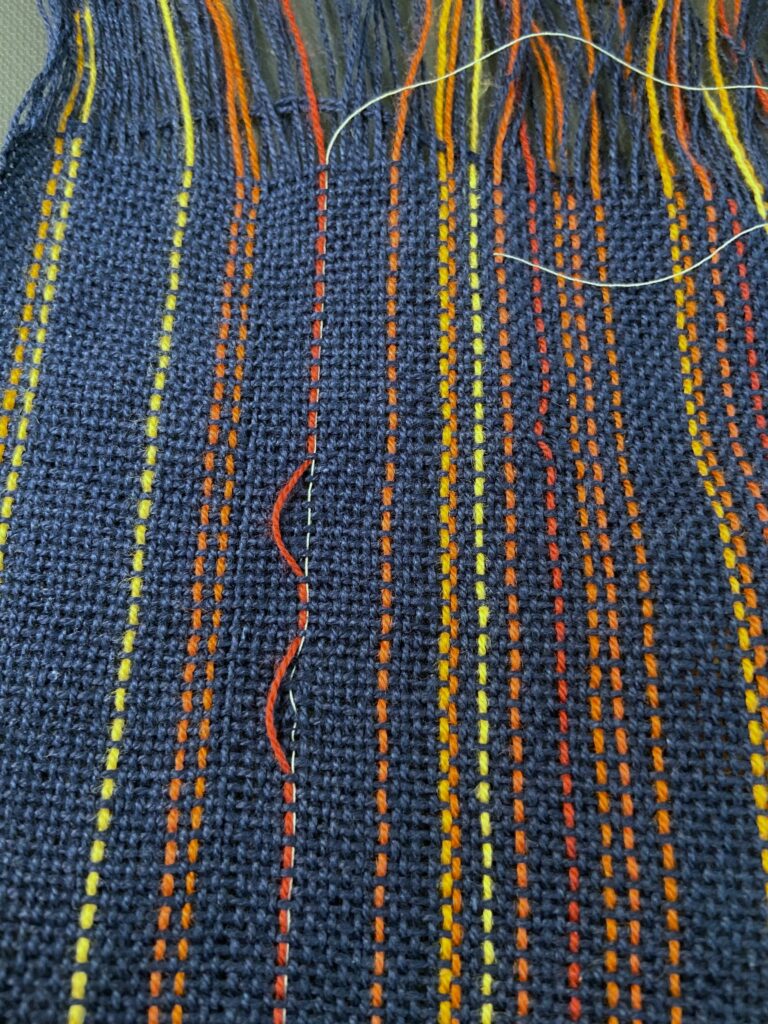
Take a sewing thread in a contrasting colour for good visibility, and follow the path of the thread with the float from one side of the float, where you would want to overlap it, through the path that the float should have taken, all the way to the end of the piece. Once you have done this, you can pull the warp end from the web, back to the point where the float started. You now have a lovely easy to see path to follow while you weave that warp end back into the piece.
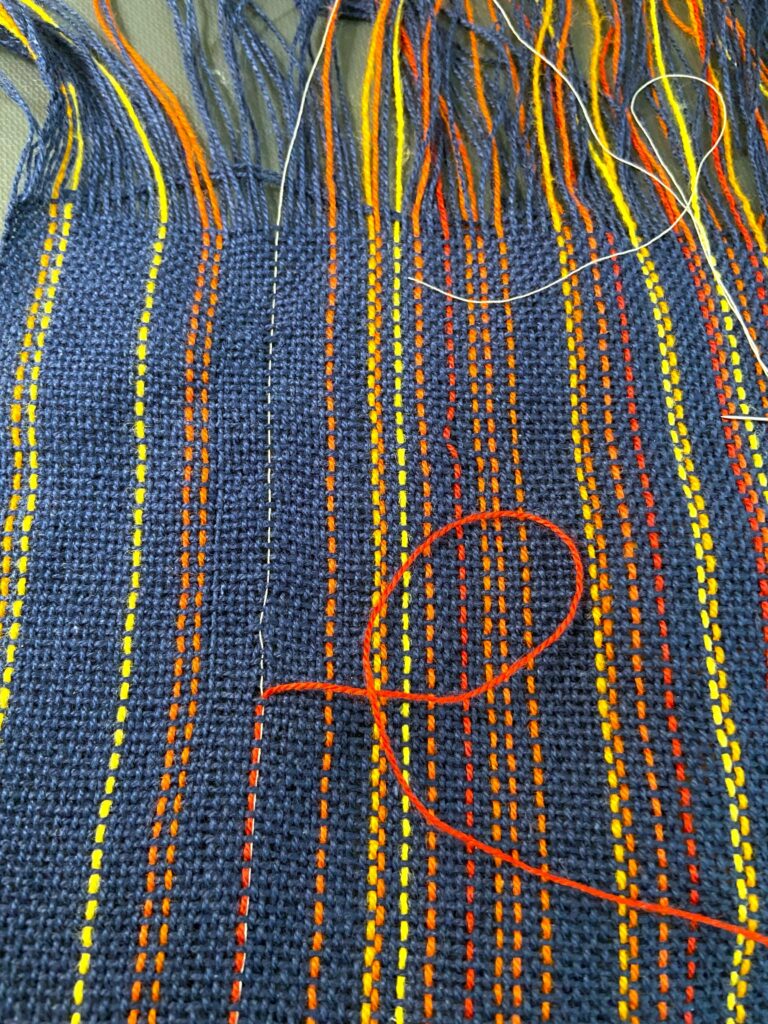
Once you have the warp end woven back in, you can pull the guide thread out, and wet finish the piece, leaving it looking like there was never an error at all!
Now that you have a few tricks up your sleeve, I hope that you will have the confidence to fix your floats when they occur!

Our Weavers Toolbox is full of tips and tricks!